Buran Ghati Trek
Trek Grade
Moderate to Difficult
Highest Altitute
15,000 ft / 4,572 m
Best Season
Summer & Autumn
Trek Duration
6 Nights / 7 Days
Trekking Km
37–42 km
Stays
Homestay + Camp
transport
Shimla
trek region
Himachal Pradesh Base
Base camp
Janglik
Meals
Veg Meals
Trek Grade
Moderate to Difficult
Highest Altitute
15,000 ft / 4,572 m
Trek Duration
6 Nights / 7 Days
Base camp
Janglik
Meals
veg meal
Stays
Homestay + Camp
transport
Shimla
trek region
Himachal Pradesh Base
Trekking Km
37–42 km
How to Reach
Trek Grade
Trek Grade
Trek Grade
Trek Grade
Trek Grade
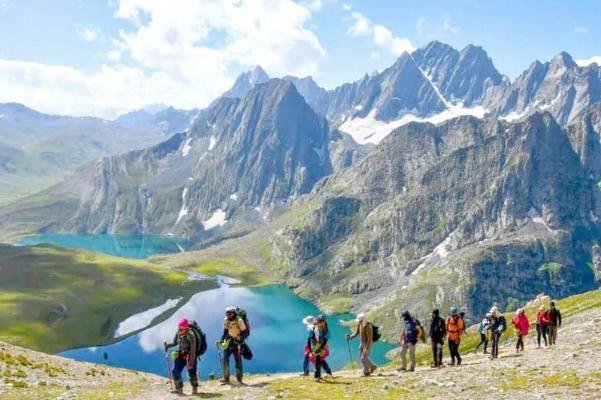
Buran Ghati Trek Overview
Buran Ghati Trek is known as the grand buffet trek of India. The vast meadows, snowfields and landscapes it offers are the exact reasons why Buran Ghati Trek got its name. This might not be a trek that you hear about often – but this is a trek that you can’t let go of once you hear or see it.
There is one thing about the Buran Ghati Trek that no other Himalayan trek can claim is the descent.
In Buran Ghati, you cross the summit and the other side is a wall. A near-vertical 400-metre snow face, dropping into the Baspa Valley at 60-70 degrees. That descent is what makes this trek different. And the six days before it – forests, open meadows, a sacred glacial lake, high camps are all leading up to it.
What the Trek Covers
Buran Ghati is a 7-day trek in Himachal Pradesh. It starts at Janglik village near Shimla and ends at Barua village in Kinnaur -two different valleys, two different cultures, connected by one high-altitude pass at 15,000 ft.
The route covers 37–42 km over 7 days. Each day looks different from the last:
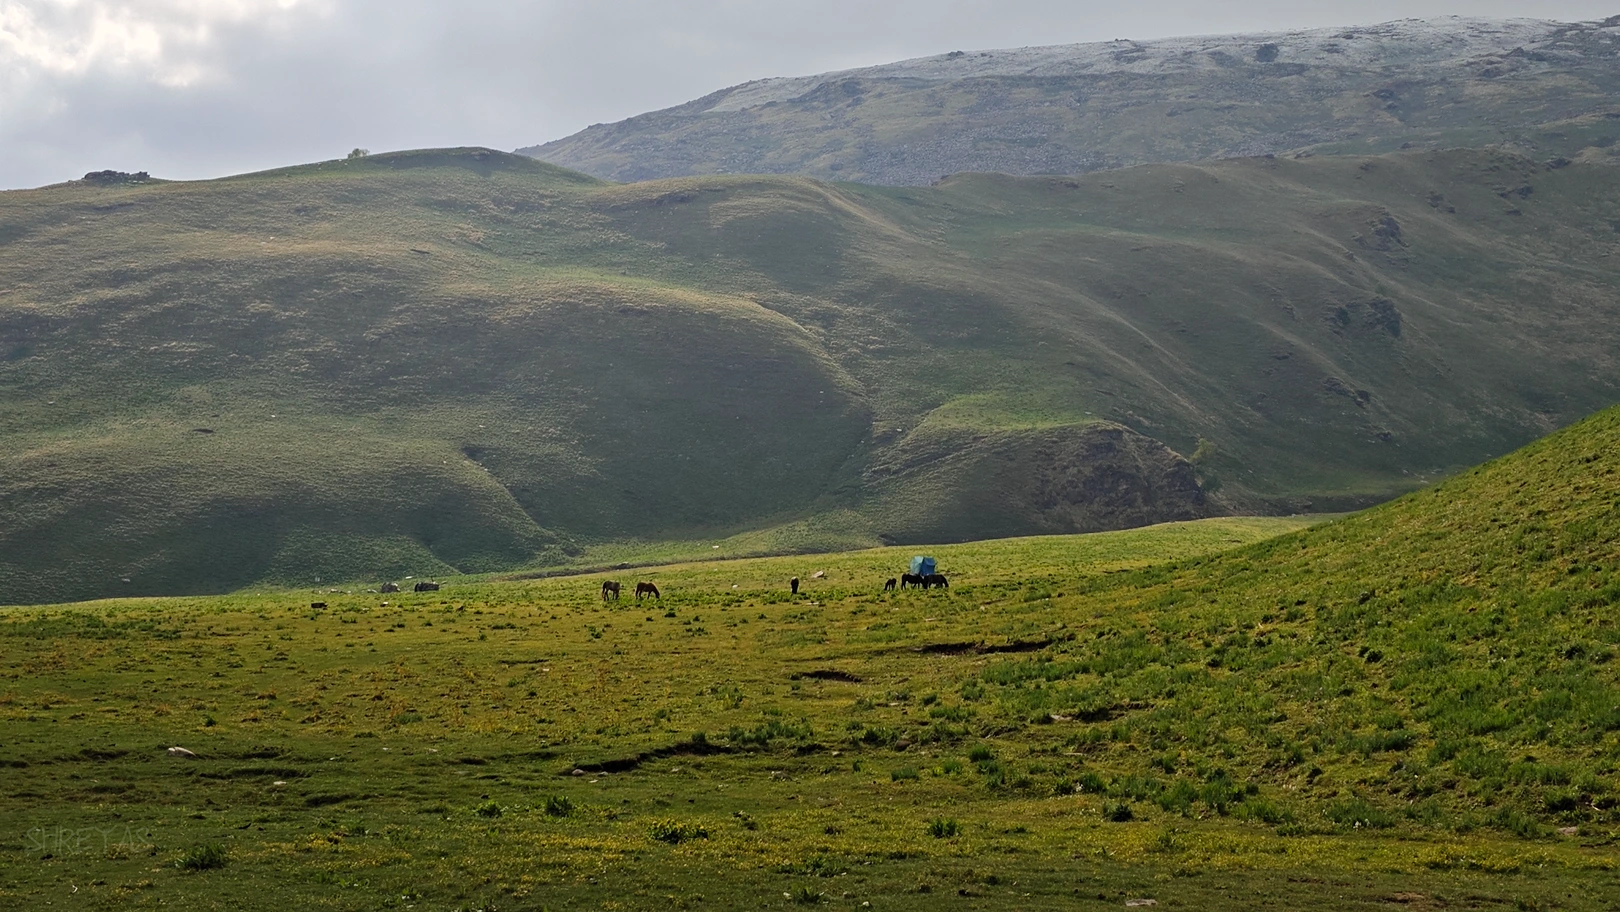
- Day 2 takes you out of dense forest into the wide-open meadows of Dayara Thatch at 11,000 ft, one of the most dramatic landscape changes on any Himalayan trek
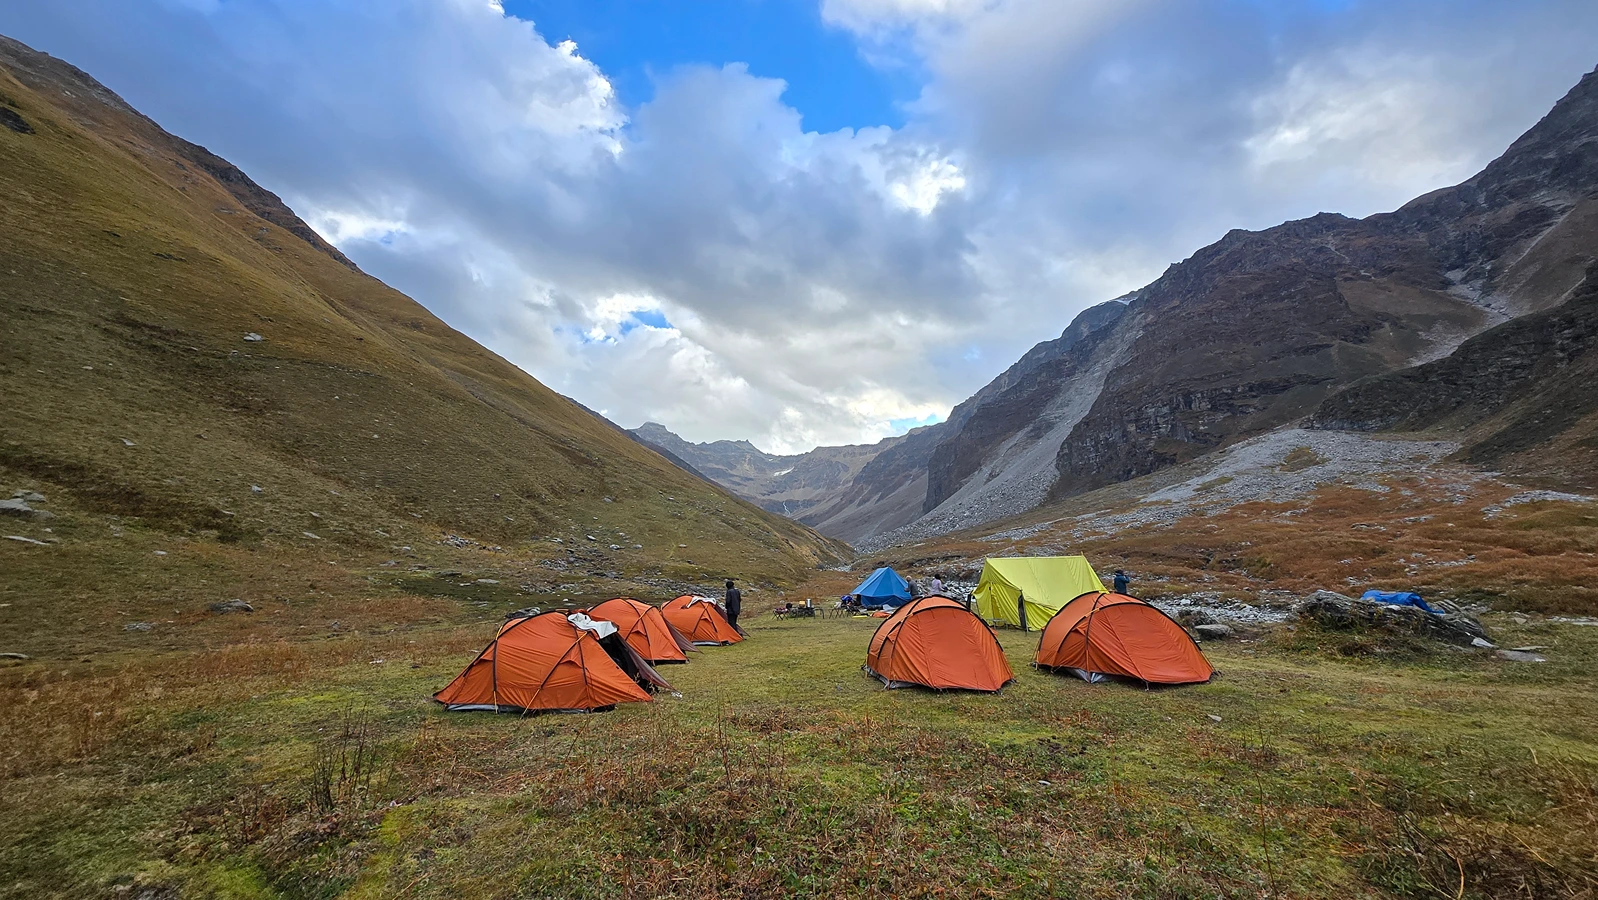
- Day 3 brings you to Litham campsite, where two valleys meet and a waterfall falls directly into your sightline from the tent lines
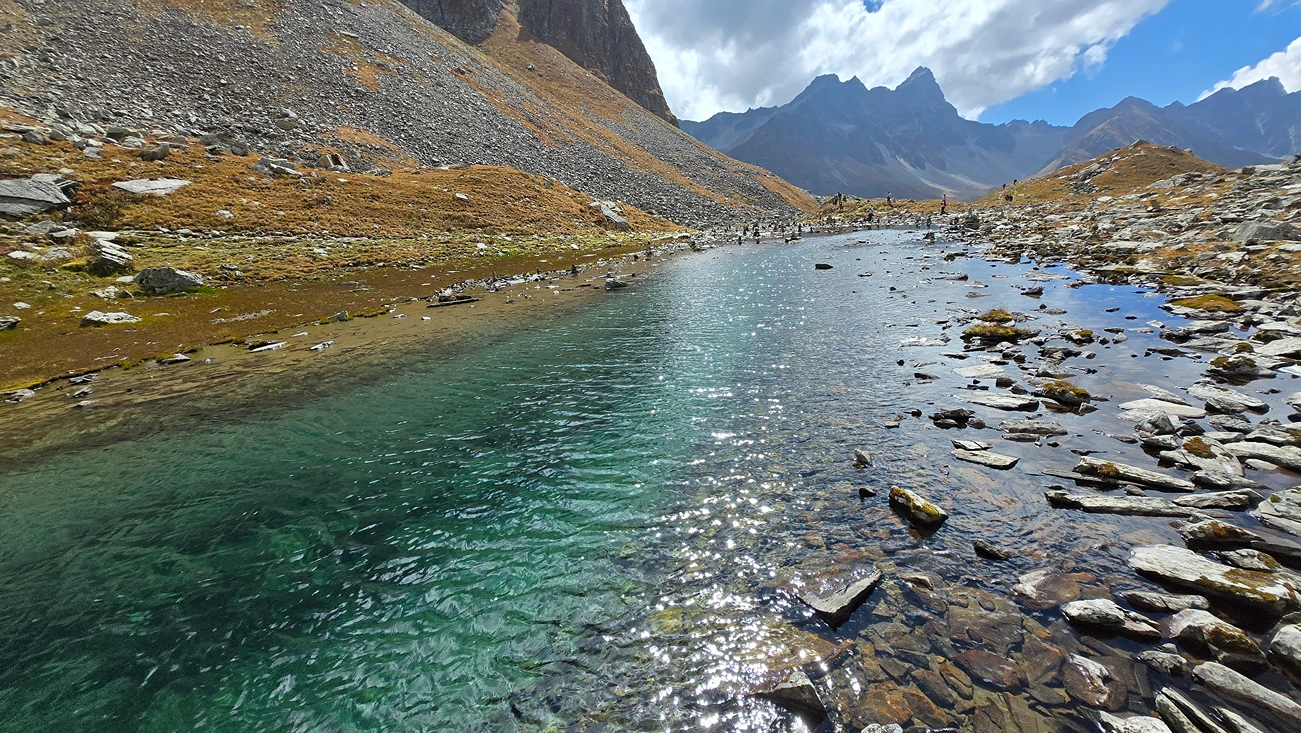
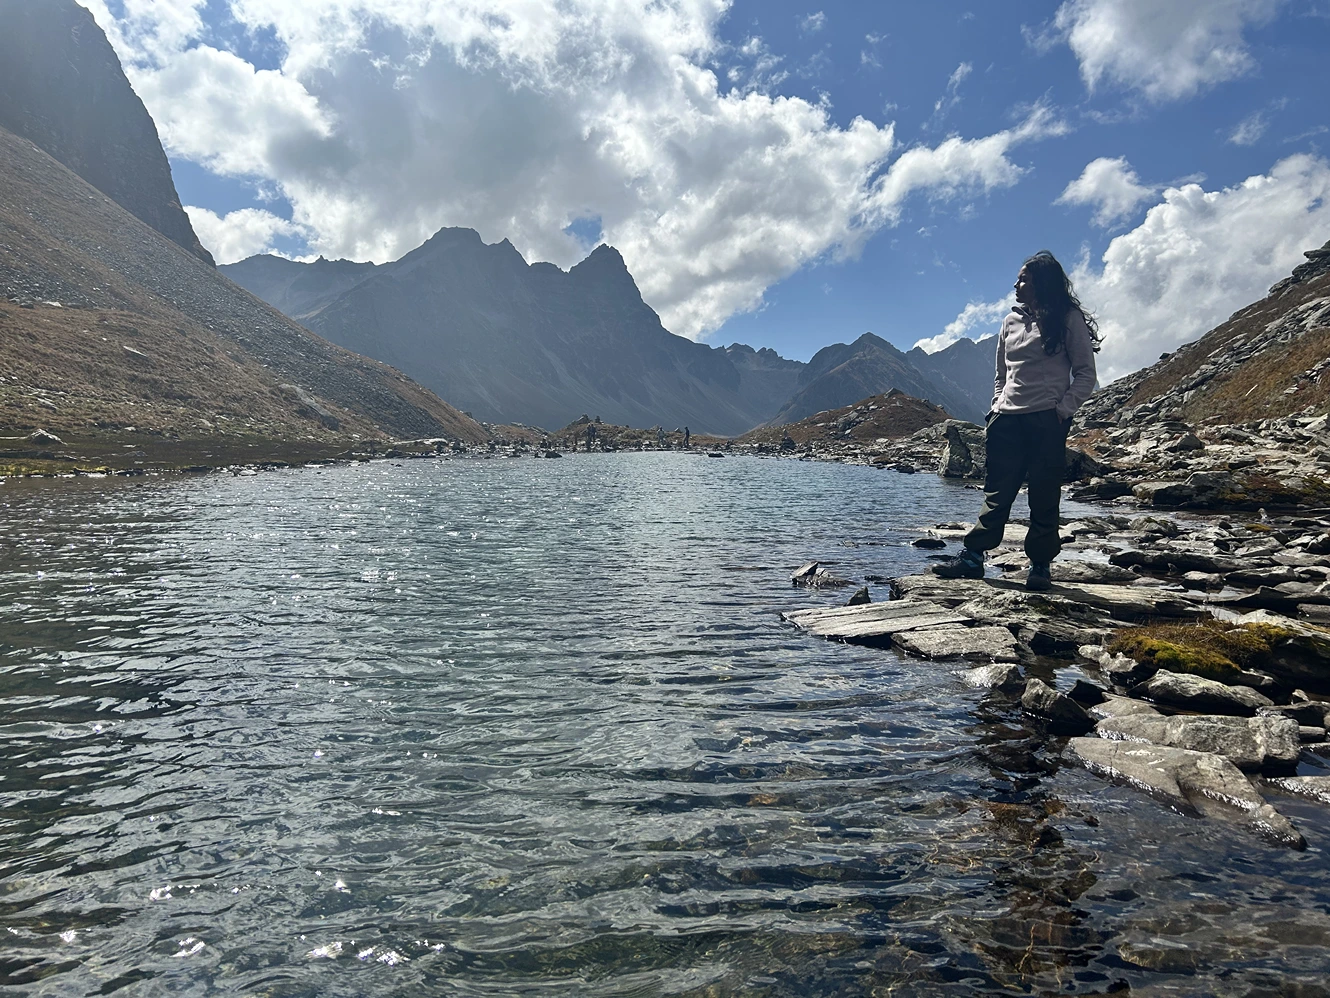
- Day 4 is the climb to Chandranahan Lake, seven sacred glacial pools at 13,200 ft, the traditional source of the Pabbar River
- Day 5 pushes to Dhunda at 13,300 ft, where the pass becomes visible directly above camp for the first time
- Day 6 is summit day, the snow wall, the rappel, and everything that comes after it
- Day 7 descends through apple orchards and stone lanes into Barua village, followed by the drive back to Shimla
A Route With History
Buran Ghati was never a tekker’s trail. For centuries, it was a working trade route. The Gaddi shepherds of Himachal Pradesh used this pass moving livestock between high summer pastures and the lower Baspa Valley as the seasons changed. Merchants from both the Pabbar and Baspa sides crossed it carrying wool, salt, and dried herbs.
During the Bushahr Kingdom era, when inter clan tensions ran through this region, the pass was reportedly used as a secret crossing to avoid checkpoints and taxation on the main roads below. The name Buran, meaning Gateway of Winds is attributed to a sage who discovered the col and named it for the cold wind that never stops.
At both ends of this route, Janglik and Barua, there are gram devta temples, village deities worshipped by communities that have lived under these ridgelines for far longer than any map has existed. When you walk this trail, you are walking a route that has had purpose for a very long time.
Buran Ghati Trek Difficulty – What You Need to Know
The Buran Ghati Trek is rated moderate to difficult. That rating is multi-layered and let’s understand why that is. Days 1 through 5 are demanding for someone who hasn’t trained. But this is absolutely manageable for anyone with reasonable fitness and prior trekking experience. Day 6 is something else: a 3:30 AM start, a sustained snow climb to 15,000 ft, a technical snow wall descent with fixed ropes, and a total day of 9–11 hours. There is no technical mountaineering background required – but arriving without preparation means Day 6 becomes a survival exercise rather than the best day you have ever had in the mountains. If you have completed Kedarkantha, Hampta Pass, or Brahmatal, and you have trained for it – this is your next move.
Does that mean you can’t do Buran Ghati as a beginner? No, it means you need to be prepared properly and need to foresee what you are signing up for.
For any trek – right knowledge and preparation are the key to success.
Buran Ghati Trek Key Highlights
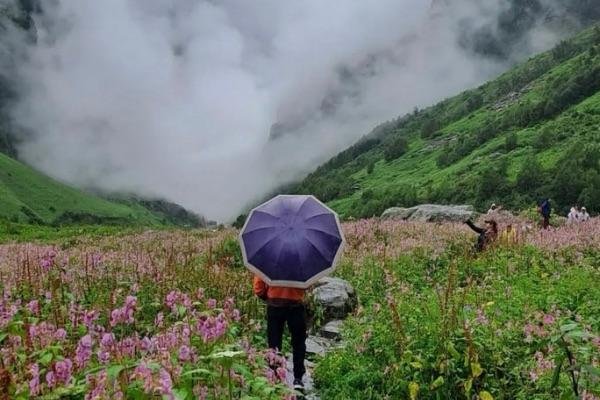
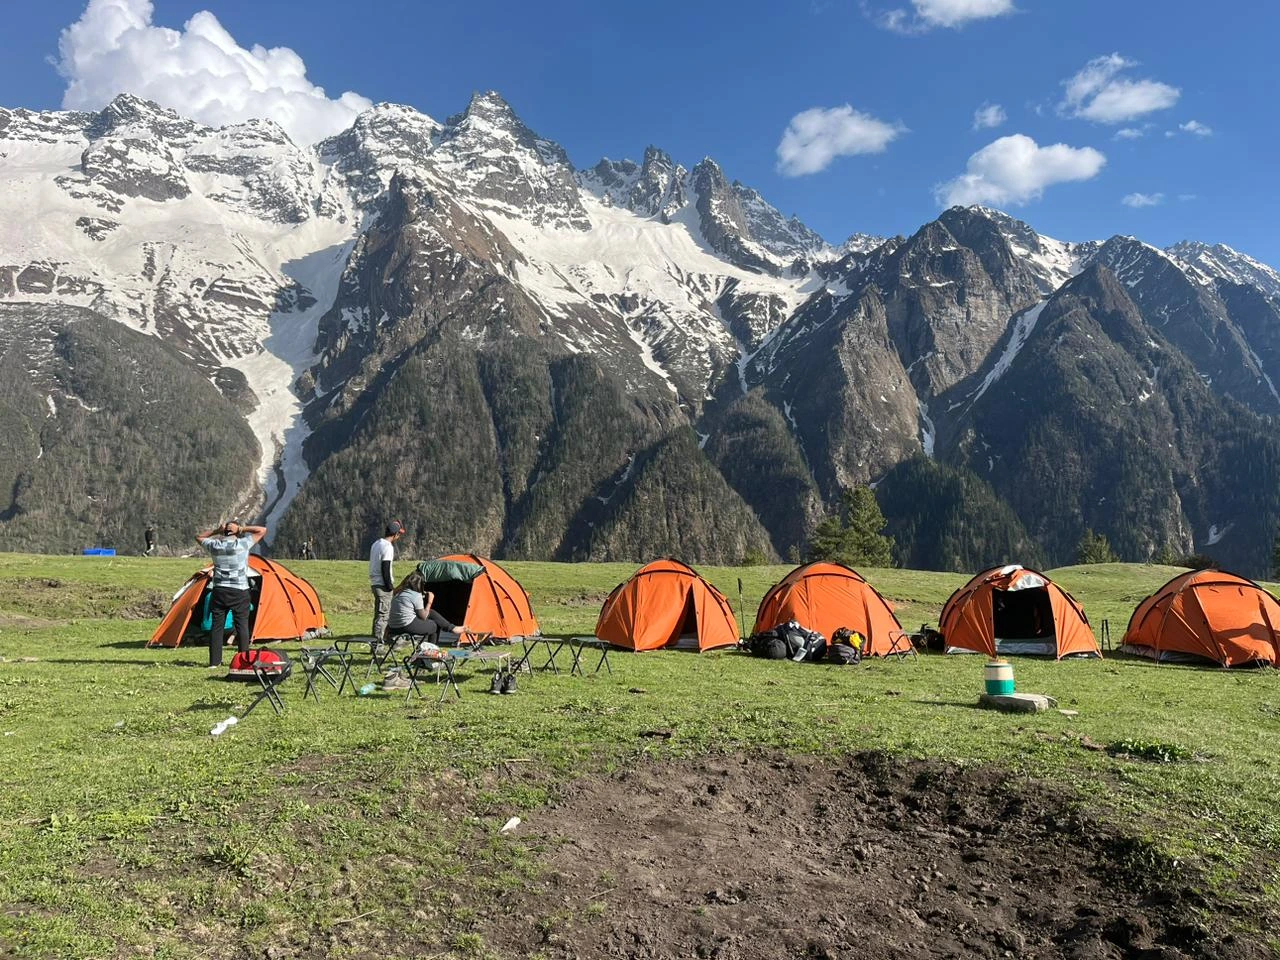
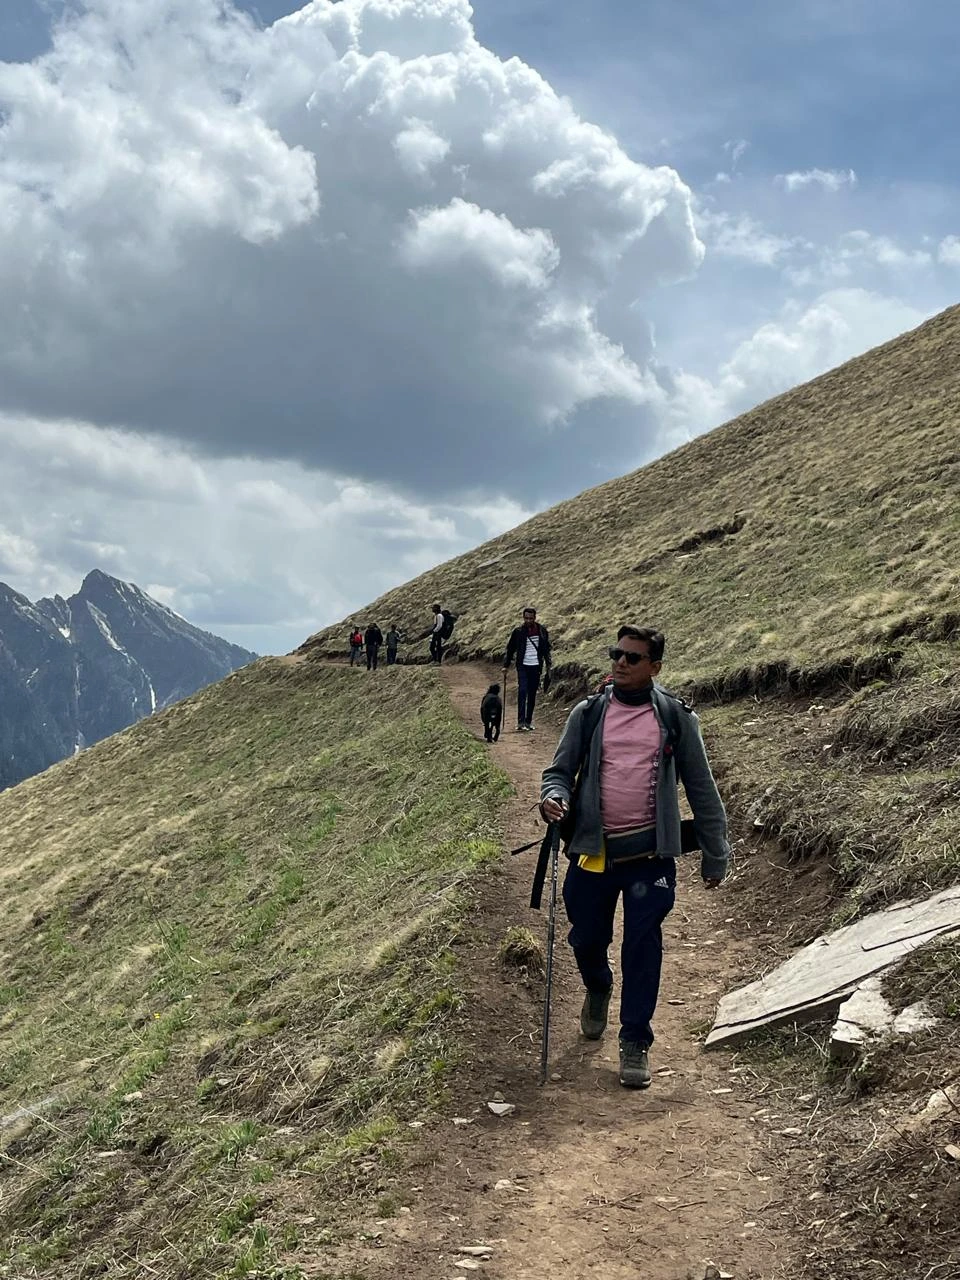
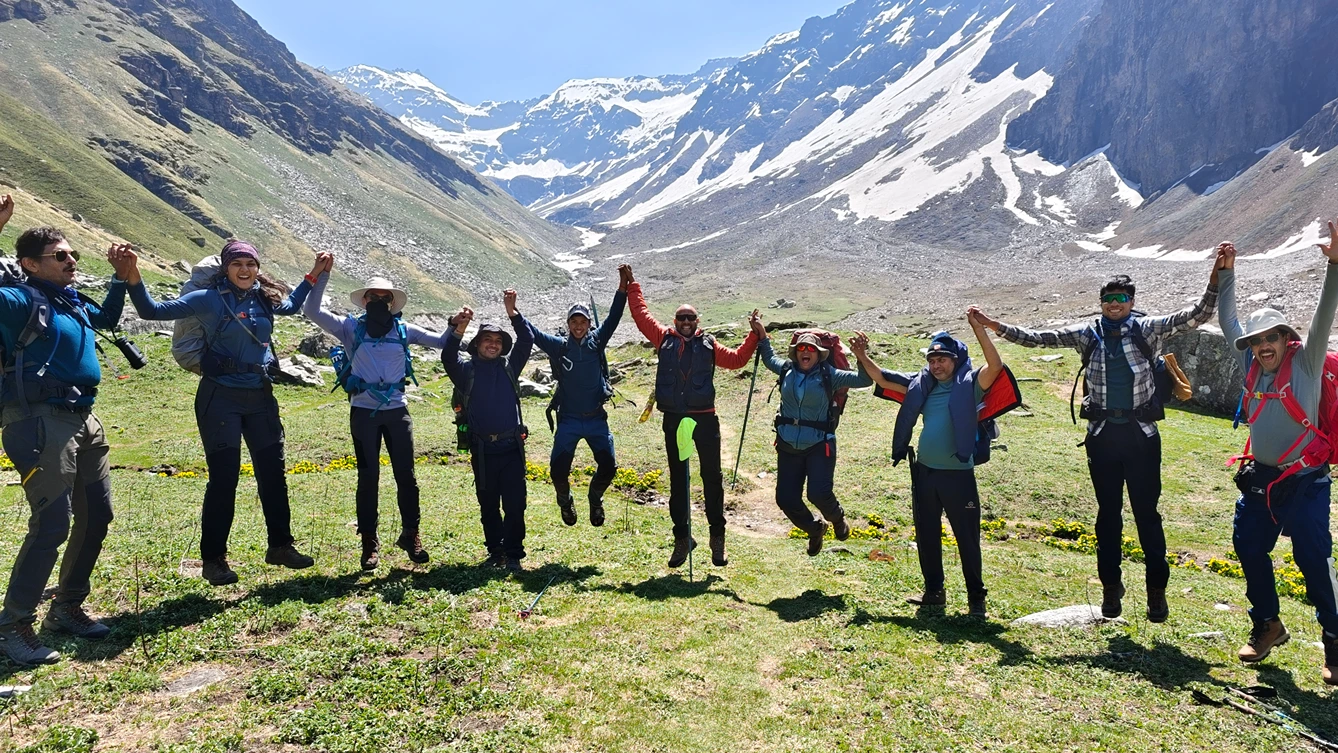
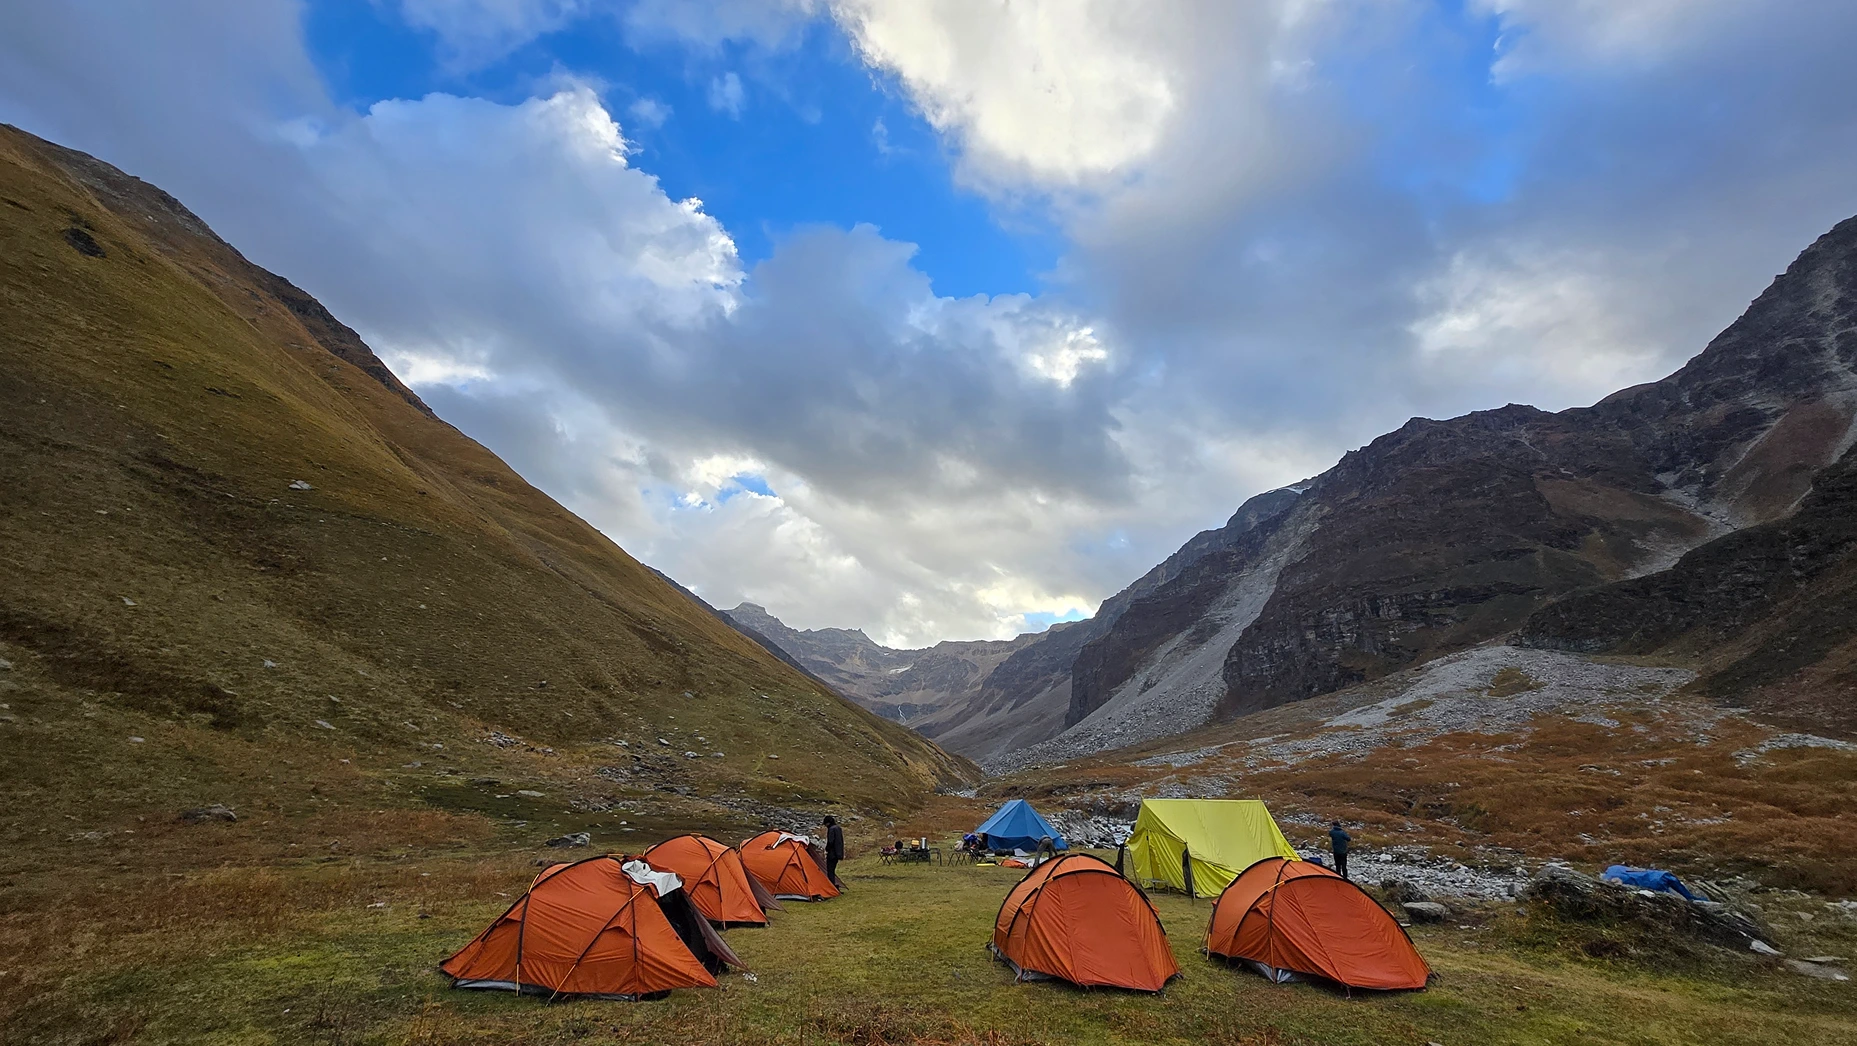
- Dayara Thatch: The forest exits suddenly and Dayara opens: a vast alpine grassland at 11,000 ft, ringed by snow ridgelines, with wild horses on the upper slopes. In June, wildflowers are everywhere. In October, amber grass and crystalline ridges. Most trekkers stop walking when they first see it.
- Litham Campsite: One of the finest campsites on any route in Himachal Pradesh. Two valleys converge here. The Chandranahan waterfall falls directly into your sightline from the tent lines. The Pabbar River, which you have been following since before Rohru is here just a fast, clear stream.
- Chandranahan Lake: The Source Seven glacial pools at 4,029 m. Partially or fully frozen for most of the year. Revered locally as the source of the Pabbar River. The climb from Litham is steep and short and worth every step. This is the trek’s acclimatisation day though it won’t feel like a medical protocol.
- Dhunda Camp: First Sight of the Wall At 4,072 m, surrounded by snow-capped peaks on every side. This is the first campsite from which the Buran Ghati Pass is visible directly above you. The anticipation here is its own experience. Most groups are quiet that evening.
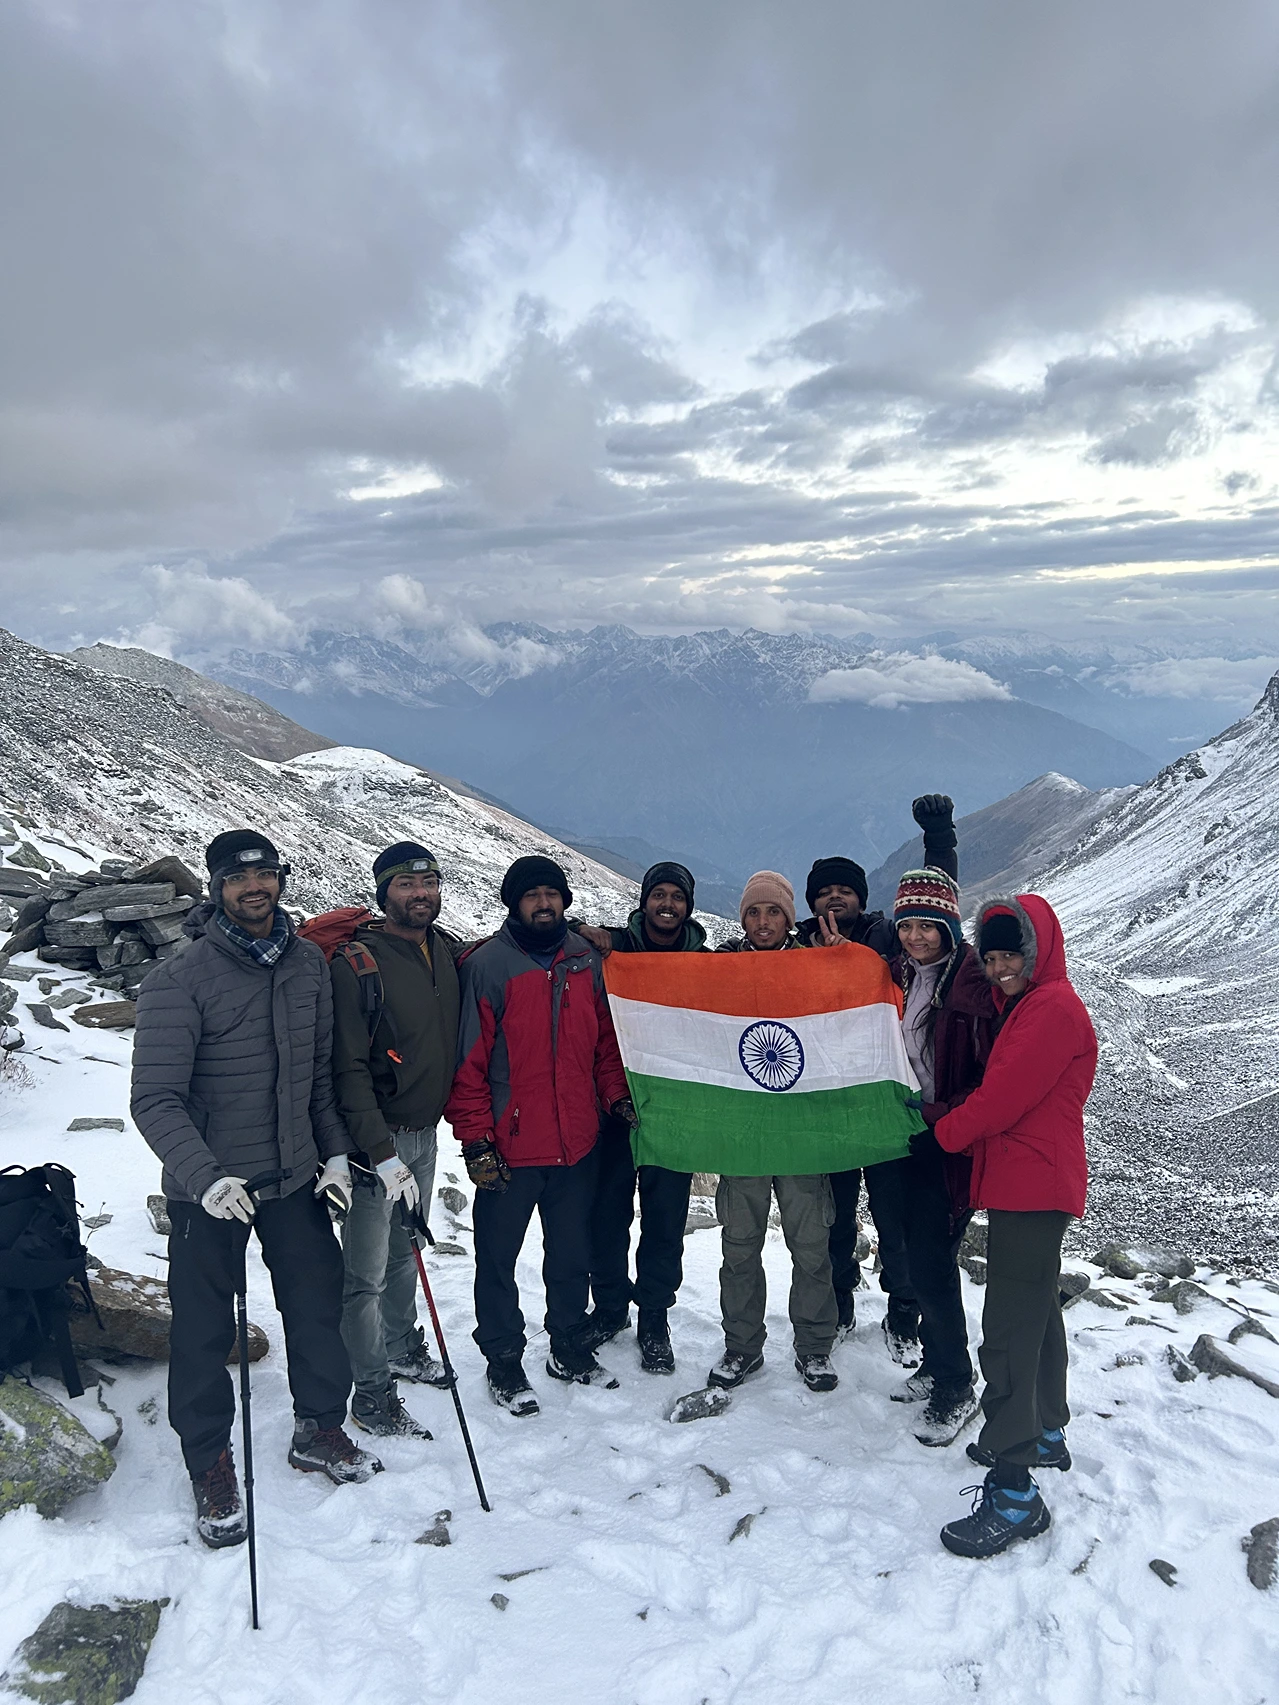
- Buran Ghati Pass(15,000 Feet): A narrow col between two worlds. Dhauladhar behind you, Kinner Kailash ahead, the Pabbar Valley you spent six days climbing laid out below. One of the great panoramic views in western Himalayan trekking.
- The Snow Wall Descent: The One Thing Everyone Remembers 400 metres of near-vertical snow face on the Kinnaur side of the pass. Fixed ropes, harnesses, rappelling, and then open snow slides all the way down. This is the defining feature of this trek – there is nothing comparable on any other Himalayan route at this difficulty level.
- Barua Village, Kinnaur: The Arrival Apple, apricot, walnut orchards cascading down to the Baspa River. Slate roofs. Carved wood facades. A tea stall at the village center. After six days above 10,000 feet, the smell of fruit trees and wood smoke from stone houses is its own kind of summit.
Quick Facts
- Trek Location: Himachal Pradesh
- Starting Point: Janglik Village (drive from Shimla)
- Ending Point: Barua Village, Kinnaur
- Maximum Altitude: 4,572 m / 15,000 ft
- Total Distance: 37–42 km
- Duration: 7 Days / 6 Nights
- Difficulty: Moderate to Difficult
- Best Time: May–June, September–October
- Base Camp: Janglik, Himachal Pradesh (2,804 m)
- Trek Type: Point-to-point crossover
- Nearest City: Shimla (150 km)
Buran Ghati Trek Itinerary
Daily Hiking Schedule Of Roopkund trek
Day 1 Shimla to Janglik
(Drive: 150 km | Duration: 6–7 hours | Altitude: 2,804 m | Overnight: Homestay at Janglik)
Shimla to Janglik
(Drive: 150 km | Duration: 6–7 hours | Altitude: 2,804 m | Overnight: Homestay at Janglik)Leave Shimla by 6:30 AM. The first part of the drive – past Theog and through the hills above Rohru is easy going on good tarmac. Then the Pabbar River finds you. From Rohru onward, it runs teal and fast alongside the road and doesn’t leave until Janglik. The river you will be following for the next six days begins here, right outside the jeep window.
After Chirgaon, the tarmac ends and a dirt track begins. The switchbacks between Tangnu and Diude are the slowest stretch of the entire approach 25 km of altitude-gaining road through oak and conifer forest. Janglik is a short walk or brief drive from Diude, depending on the condition of the final track.
The village sits at 2,804 m with deodar-wood houses, carved facades, slate roofs, and a Jakh Devta temple at the centre that is worth a few quiet minutes before the trek begins. This is the last village accessible by road in the upper Pabbar Valley.
Spend the evening sorting your pack, eating a full meal, and sleeping before 10 PM.
Before you leave Rohru: Withdraw enough cash for 7 days plus a buffer – no ATMs exist beyond this point. Download offline maps. Tell people at home your full itinerary. Mobile signal ends at Rohru.
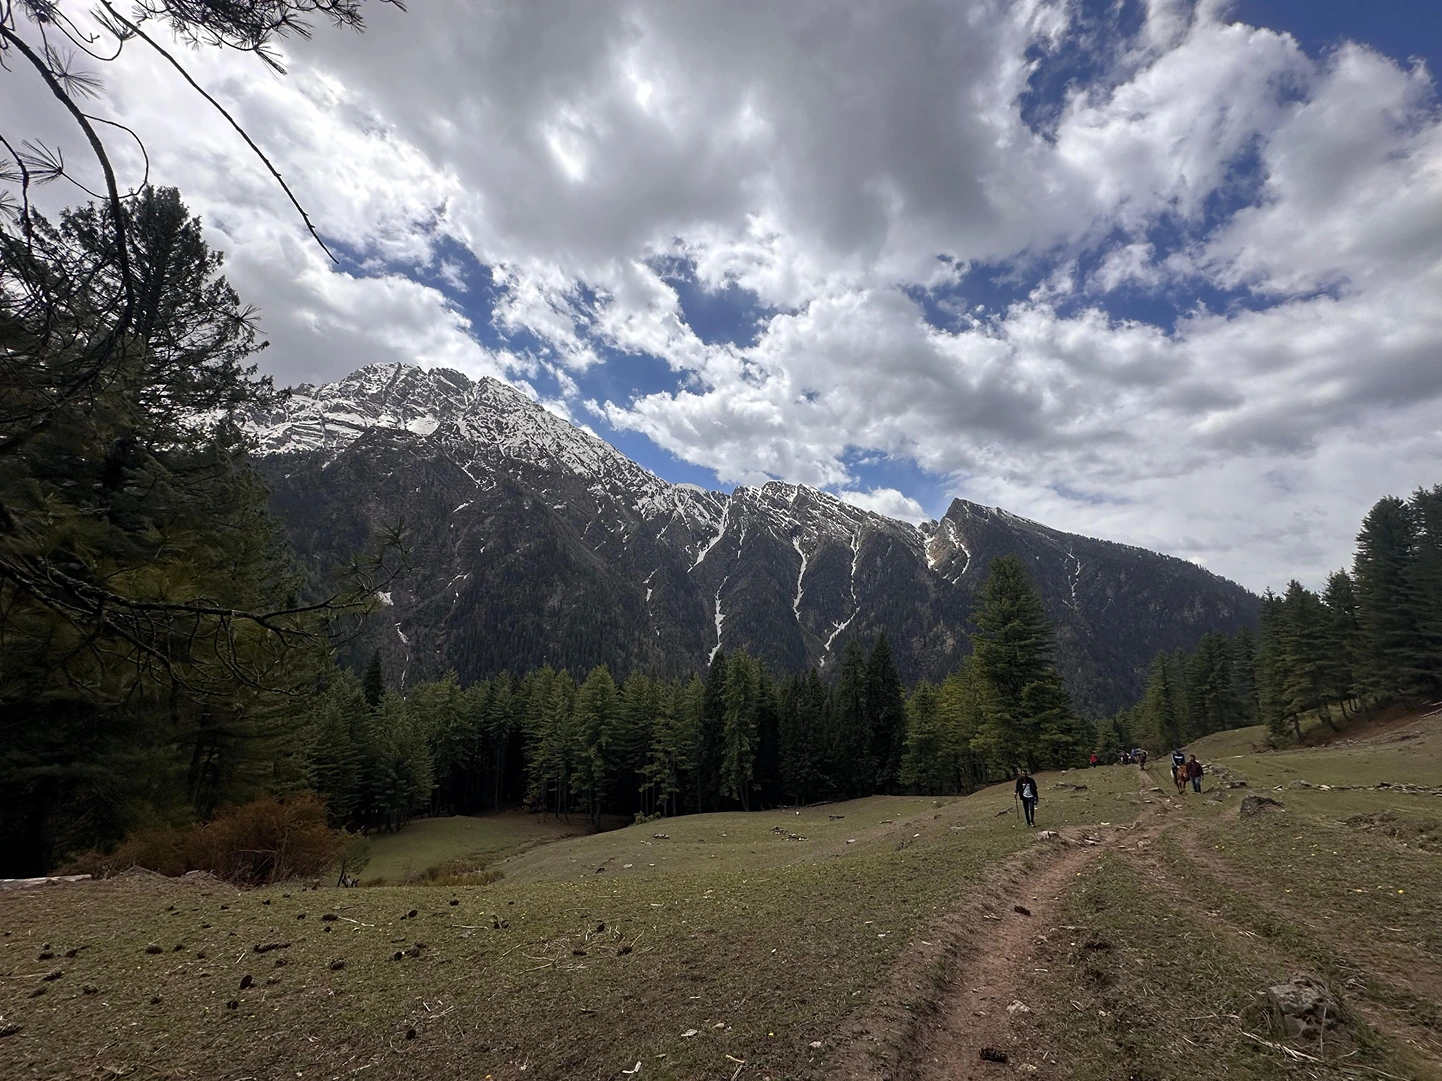
Day 2 Janglik to Dayara Thach
(Distance: 8 km | Duration: 5–6 hours | Altitude gain: 2,804 m → 3,400 m | Overnight: Dayara Thach)
Janglik to Dayara Thach
(Distance: 8 km | Duration: 5–6 hours | Altitude gain: 2,804 m → 3,400 m | Overnight: Dayara Thach)The trail leaves Janglik through the village and enters the forest within 15 minutes,oak, pine, and birch for the next few kilometres. The gradient is steady, the Pabbar is audible below, and the canopy keeps things cool. You find a rhythm early, and the first few hours pass comfortably.
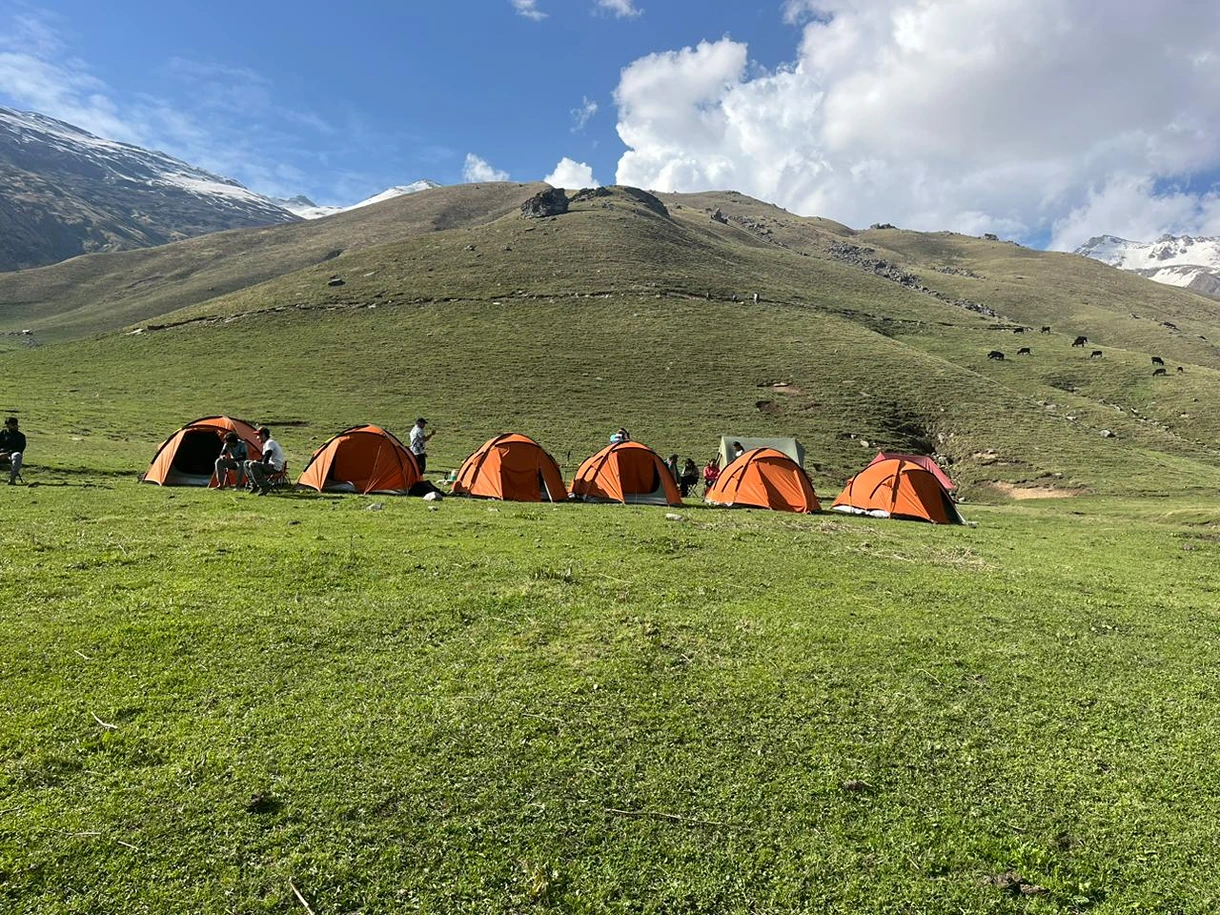
Then, without any warning, the forest ends. One step you are in the trees, and the next, Dayara Thach is in front of you, a vast alpine grassland at 11,000 ft, with snow ridgelines ringing the horizon, horses grazing the upper slopes, and the sky suddenly enormous overhead. In June, wildflowers cover the ground, Himalayan iris, blue poppies, alpine bistorts. In October, the grass turns amber and the ridges go sharp and bright against a deep blue sky. Most people stop walking when they first see it.
Camp is in the meadow. Altitude is 3,400 m, so headaches on the first evening are not unusual. Drink at least 3 litres before sleeping, eat a full dinner even if your appetite has dropped, and layer up before sundown, the meadow loses heat quickly once the sun goes.
Day 3 Dayara Thach to Litham Thach
(Distance: 6 km | Duration: 4–5 hours | Altitude: 3,400 m → 3,533 m | Overnight: Litham Thach)
Dayara Thach to Litham Thach
(Distance: 6 km | Duration: 4–5 hours | Altitude: 3,400 m → 3,533 m | Overnight: Litham Thach)Today is one of the shorter walking days of the first half of the trek, and the campsite at the end of it is the reason this route is remembered the way it is.
The trail continues through open meadow before picking up the Chandranahan stream and following it downstream to Litham. There are stream crossings, wet rock sections, and the occasional boulder field along the way, but nothing technically demanding, the terrain today is gentle and unhurried.
Litham is where two valleys converge. The Chandranahan waterfall drops from the snout directly above into the campsite’s sightline, a long white vertical line against grey rock. The Pabbar River runs alongside the tents as a narrow, fast stream, and ridgelines close in on three sides. It looks like a place someone specifically designed to be a perfect campsite.
Rest completely here. Tomorrow is an altitude day and the Chandranahan climb is steep, so eat well, hydrate through the afternoon, and sleep early.
Day 4 Chandranahan Lake Excursion from Litham Thach
(Distance: 8 km round trip | Duration: 6–7 hours | Max altitude: 4,029 m | Overnight: Litham Thach)
Chandranahan Lake Excursion from Litham Thach
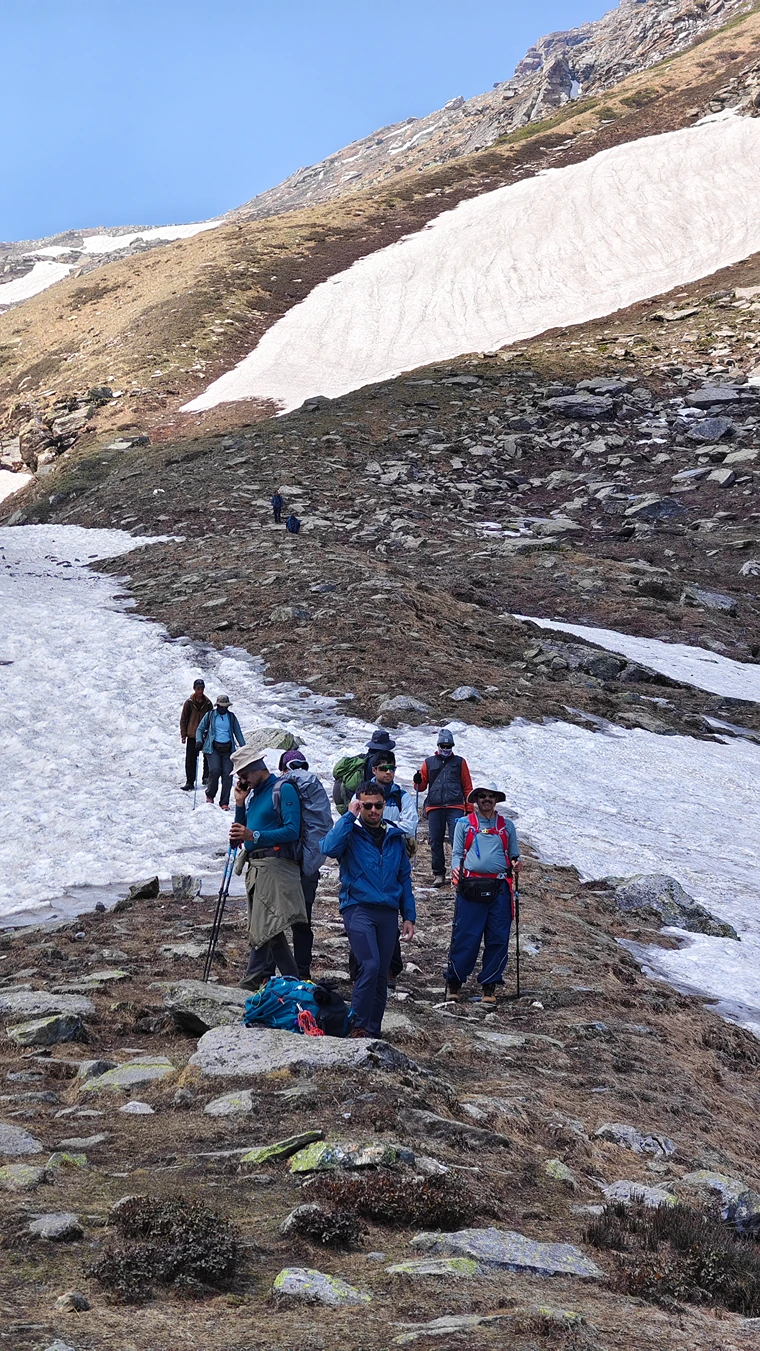
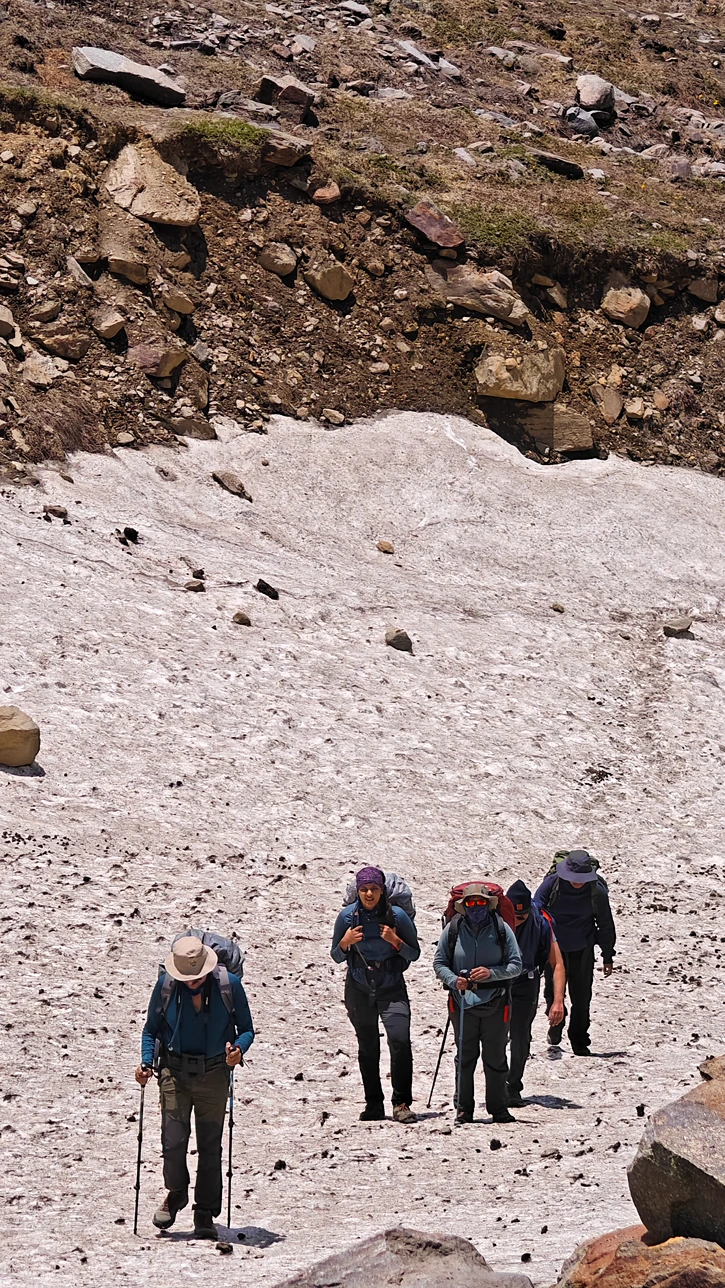
(Distance: 8 km round trip | Duration: 6–7 hours | Max altitude: 4,029 m | Overnight: Litham Thach)The trail crosses the Chandranahan stream near camp and climbs directly toward the waterfall above. From the base of the falls, the route follows the water the entire way up, first the stream, then the waterfall itself, then the snowfield above it, until the valley tightens into a rocky basin and the lake appears.
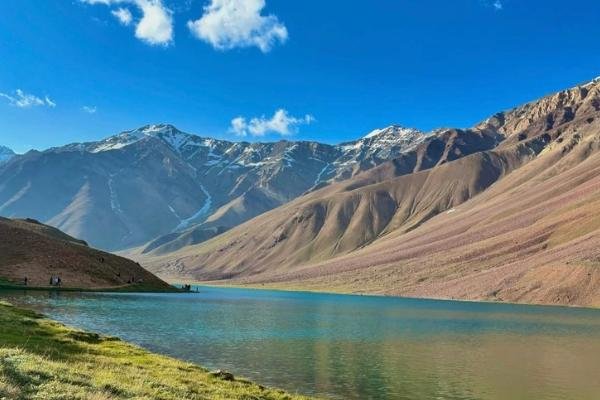
Seven glacial pools sit at 4,029 m. The water is grey-blue and almost still, the surrounding ridges close and steep, snow or bare rock depending on the season. Stone cairns line the edges, placed by local communities who have been making this climb for generations with purpose very different from acclimatisation. Local legend identifies this lake as the source of the Pabbar River, the same river you have been following since the drive from Rohru. Whether or not you carry that story with you, the silence at 4,000 m in a closed rocky basin surrounded by snowfields carries its own weight.
This day also serves as your acclimatisation push. You climb to 4,029 m and return to 3,533 m, giving the body the altitude stimulus it needs without the stress of sleeping at height. Don’t rush the descent. Eat a full meal on return, drink 4 litres through the day, and sleep as early as possible.
AMS symptoms to watch for: Persistent headache, nausea or vomiting, dizziness, breathlessness at rest, loss of coordination. Tell your trek leader immediately, do not wait it out alone.
Day 5 Litham Thach to Nalabansh
(Distance: 5 km | Duration: 3–4 hours | Altitude gain: 3,533 m → 4,050 m | Overnight: Nalabansh)
Litham Thach to Nalabansh
(Distance: 5 km | Duration: 3–4 hours | Altitude gain: 3,533 m → 4,050 m | Overnight: Nalabansh)This is the shortest walking day on the trek, but altitude gain is the metric that matters here. The trail follows the Pabbar upstream, which is now a hard, fast-descending stream rather than the calm flow of the lower valley. The valley narrows steadily, the Dhauladhar Range closes in from the south, and after about an hour of climbing through a narrowing gorge, the valley makes a sharp left turn and the Buran Ghati Pass appears directly above you for the first time.
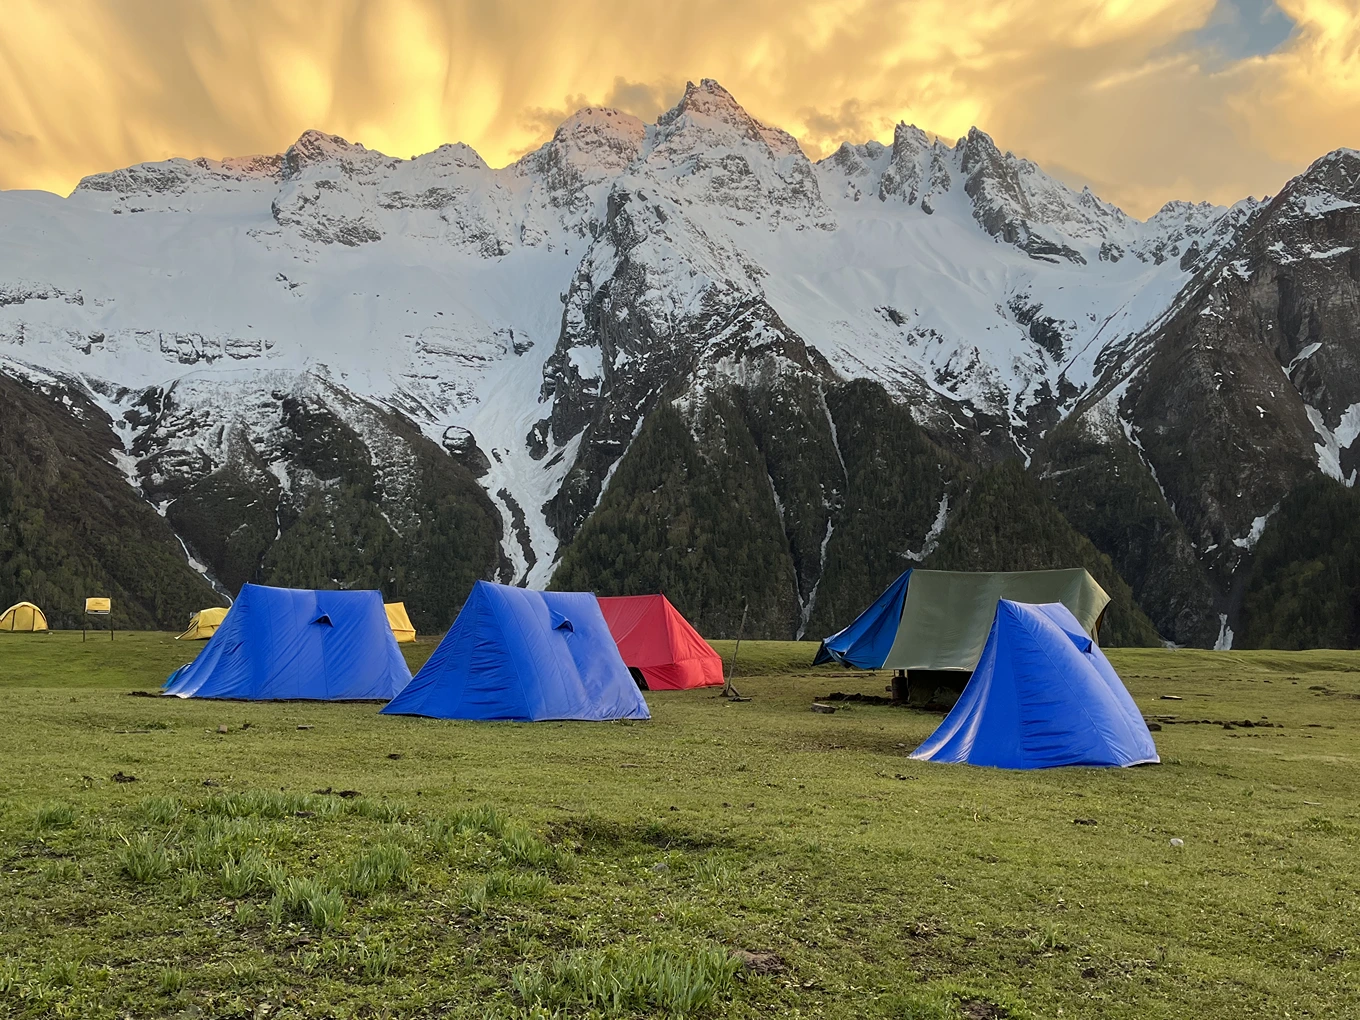
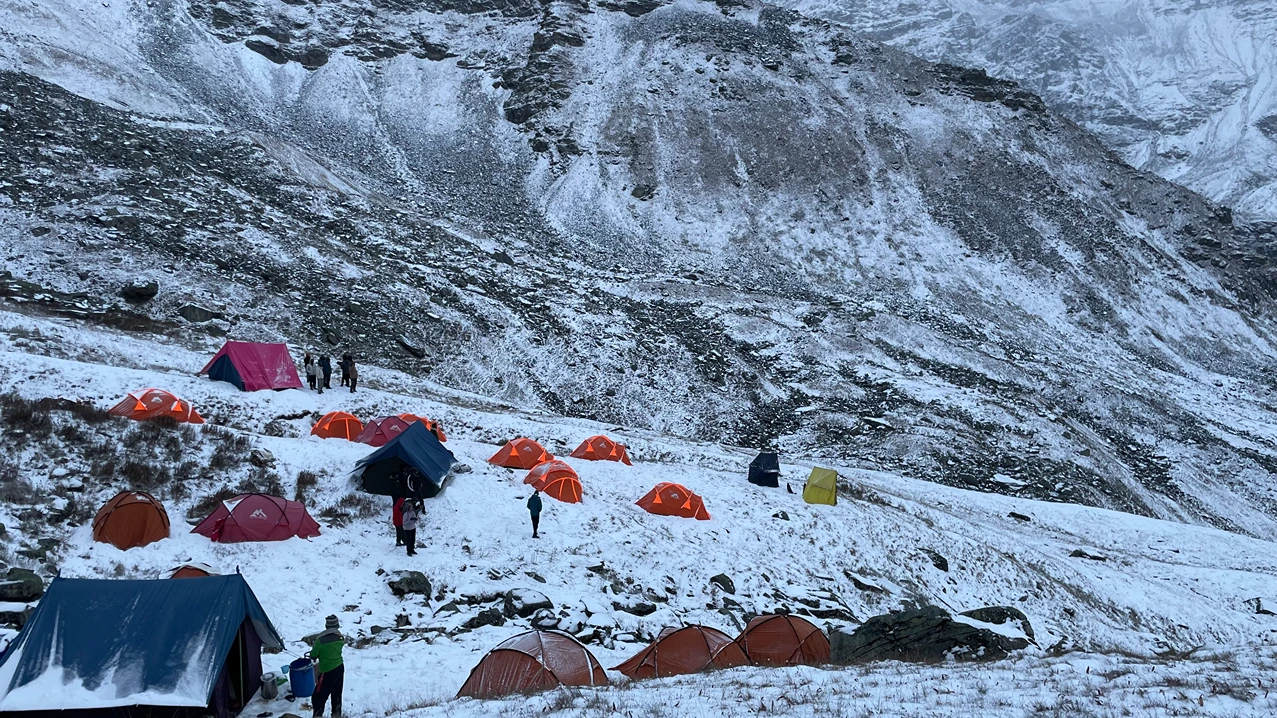
Nalabansh sits at the foot of that wall. The campsite is barren grey rock with snow on three sides and the mountain you are climbing tomorrow visible directly from inside your tent. This is not accidental. Nalabansh is the last camp before the pass, and it is deliberately unromantic, it exists to remove all ambiguity about what comes next.
Check your summit gear this evening: down jacket, balaclava, warm gloves, head torch with fresh batteries, trekking poles, microspikes, and water in an insulated sleeve (exposed bottles freeze at this altitude overnight). Eat a carbohydrate-heavy dinner, lights out by 9 PM, and set your alarm for 3 AM.
Day 6 Nalabansh to Buran Ghati Pass to Munirang | SUMMIT DAY
(Distance: 7 km | Duration: 9–11 hours | Max altitude: 4,572 m / 15,000 ft | Overnight: Munirang / River Camp)
Nalabansh to Buran Ghati Pass to Munirang | SUMMIT DAY
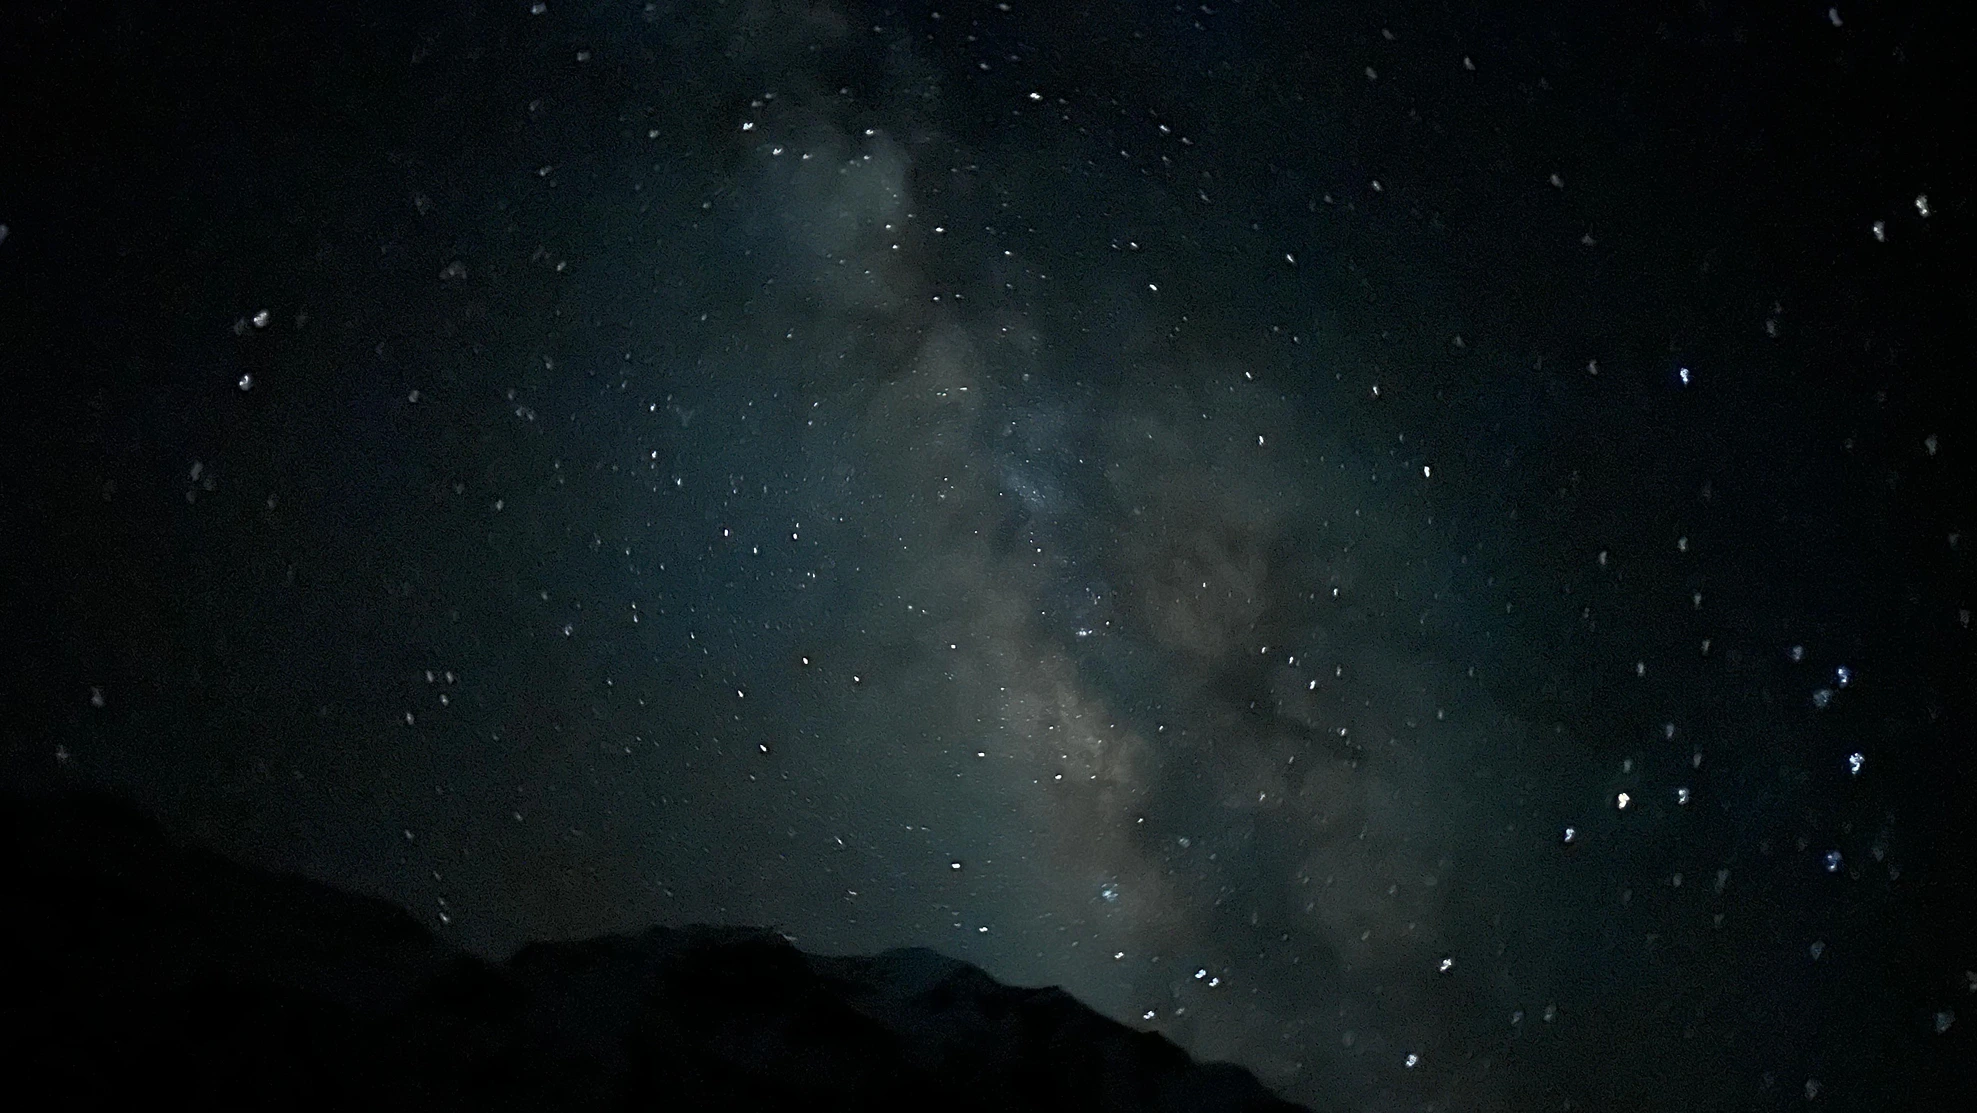
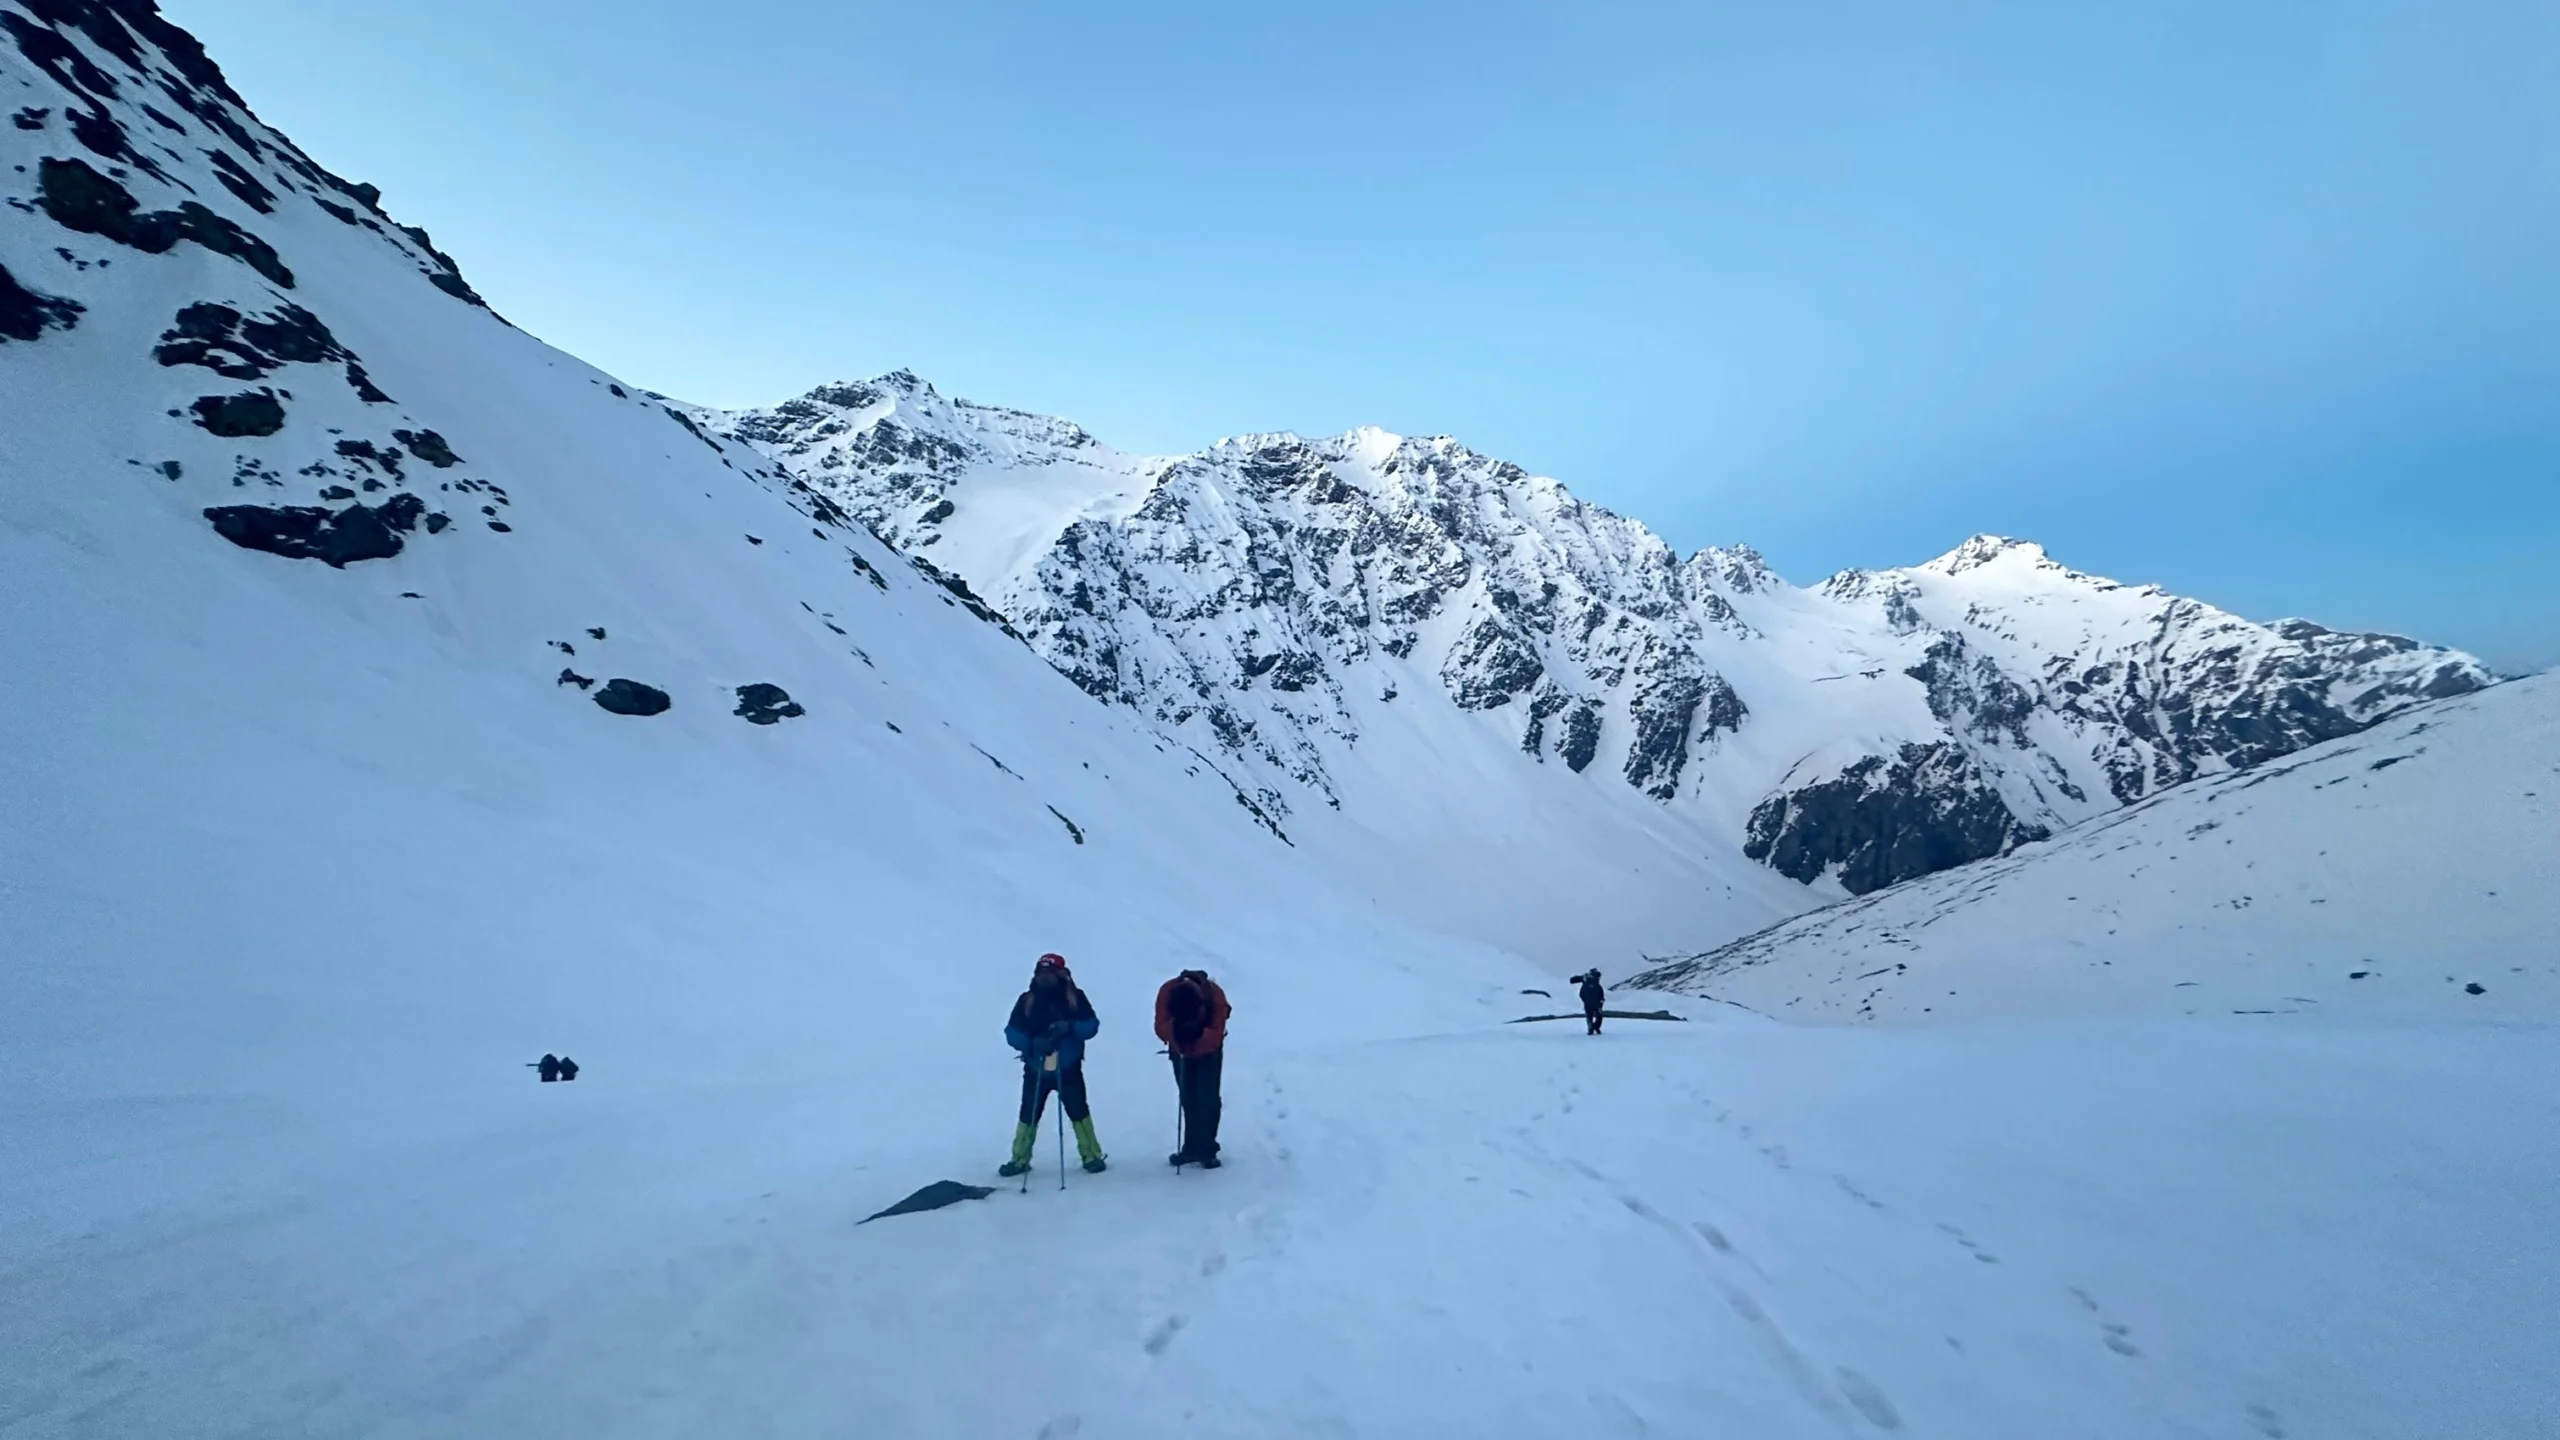
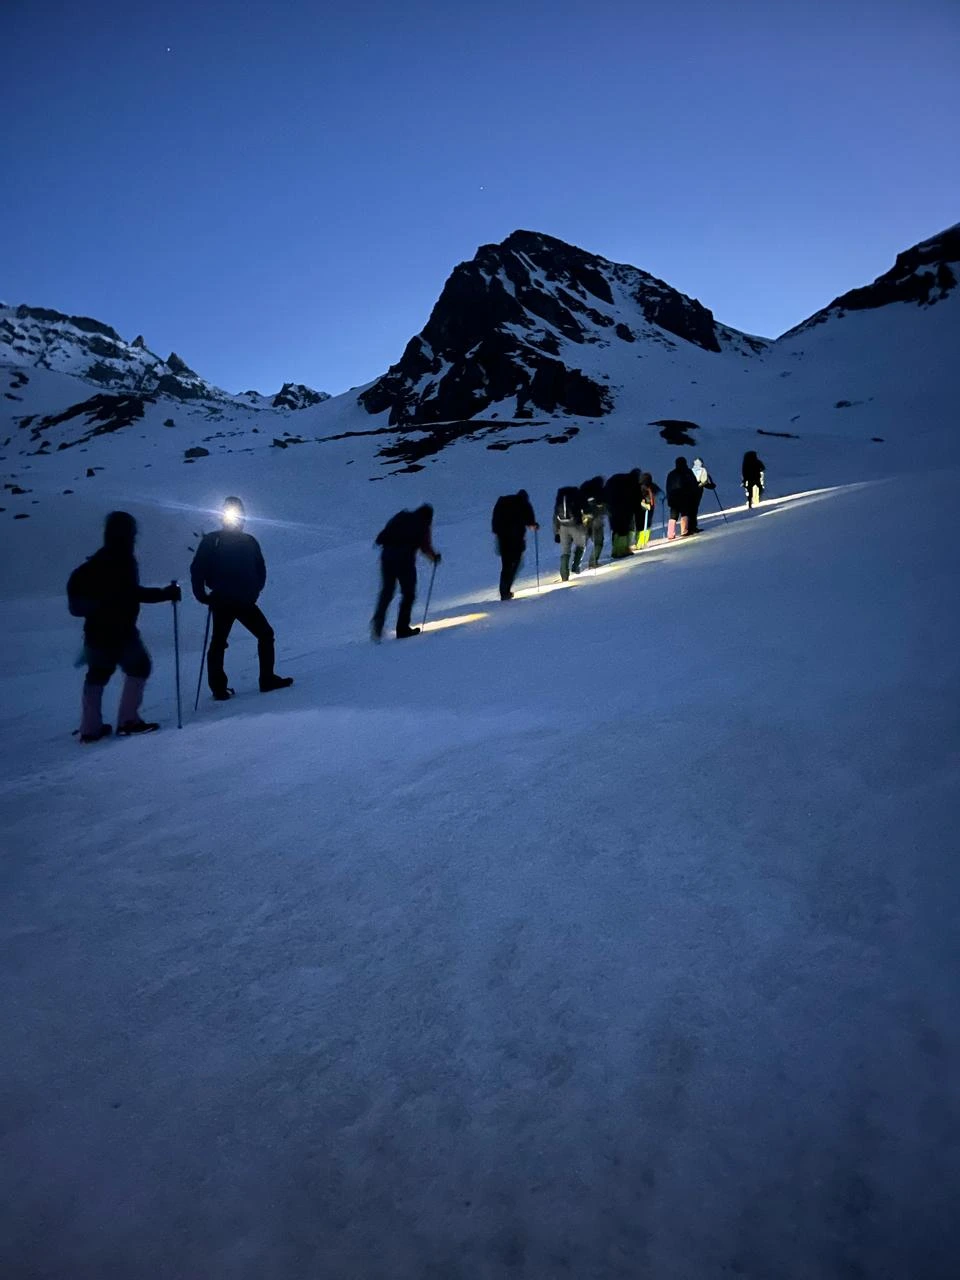
(Distance: 7 km | Duration: 9–11 hours | Max altitude: 4,572 m / 15,000 ft | Overnight: Munirang / River Camp)The snowfield in front of Nalabansh is grey-blue in the torch beam, your breath is visible in the cold air, and the stars are still out because you are above the weather. This is what 3:30 AM looks like at 4,050 m.
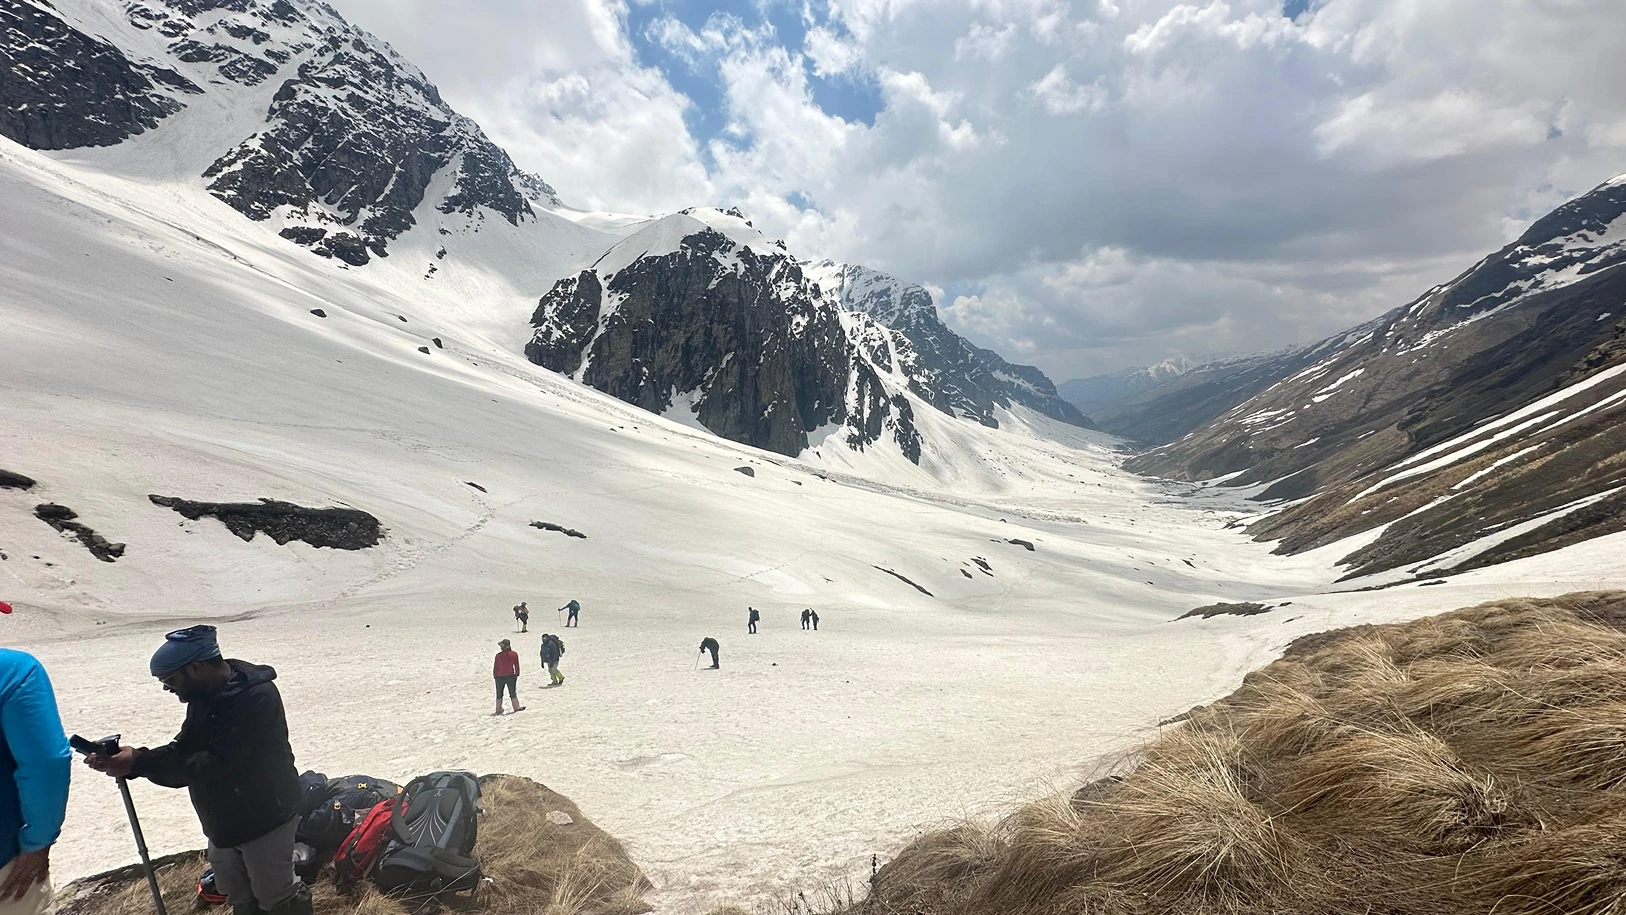
From Nalabansh, the trail immediately begins boulder-hopping in the dark. Within the first hour, boulders give way entirely to snow. This is precisely why you leave before dawn, the snow is firm and consolidated in the cold, which means grip, stability, and safe movement. By mid-morning, that same surface turns wet and unstable. The pre-dawn start is not a dramatic tradition. It is basic safety.
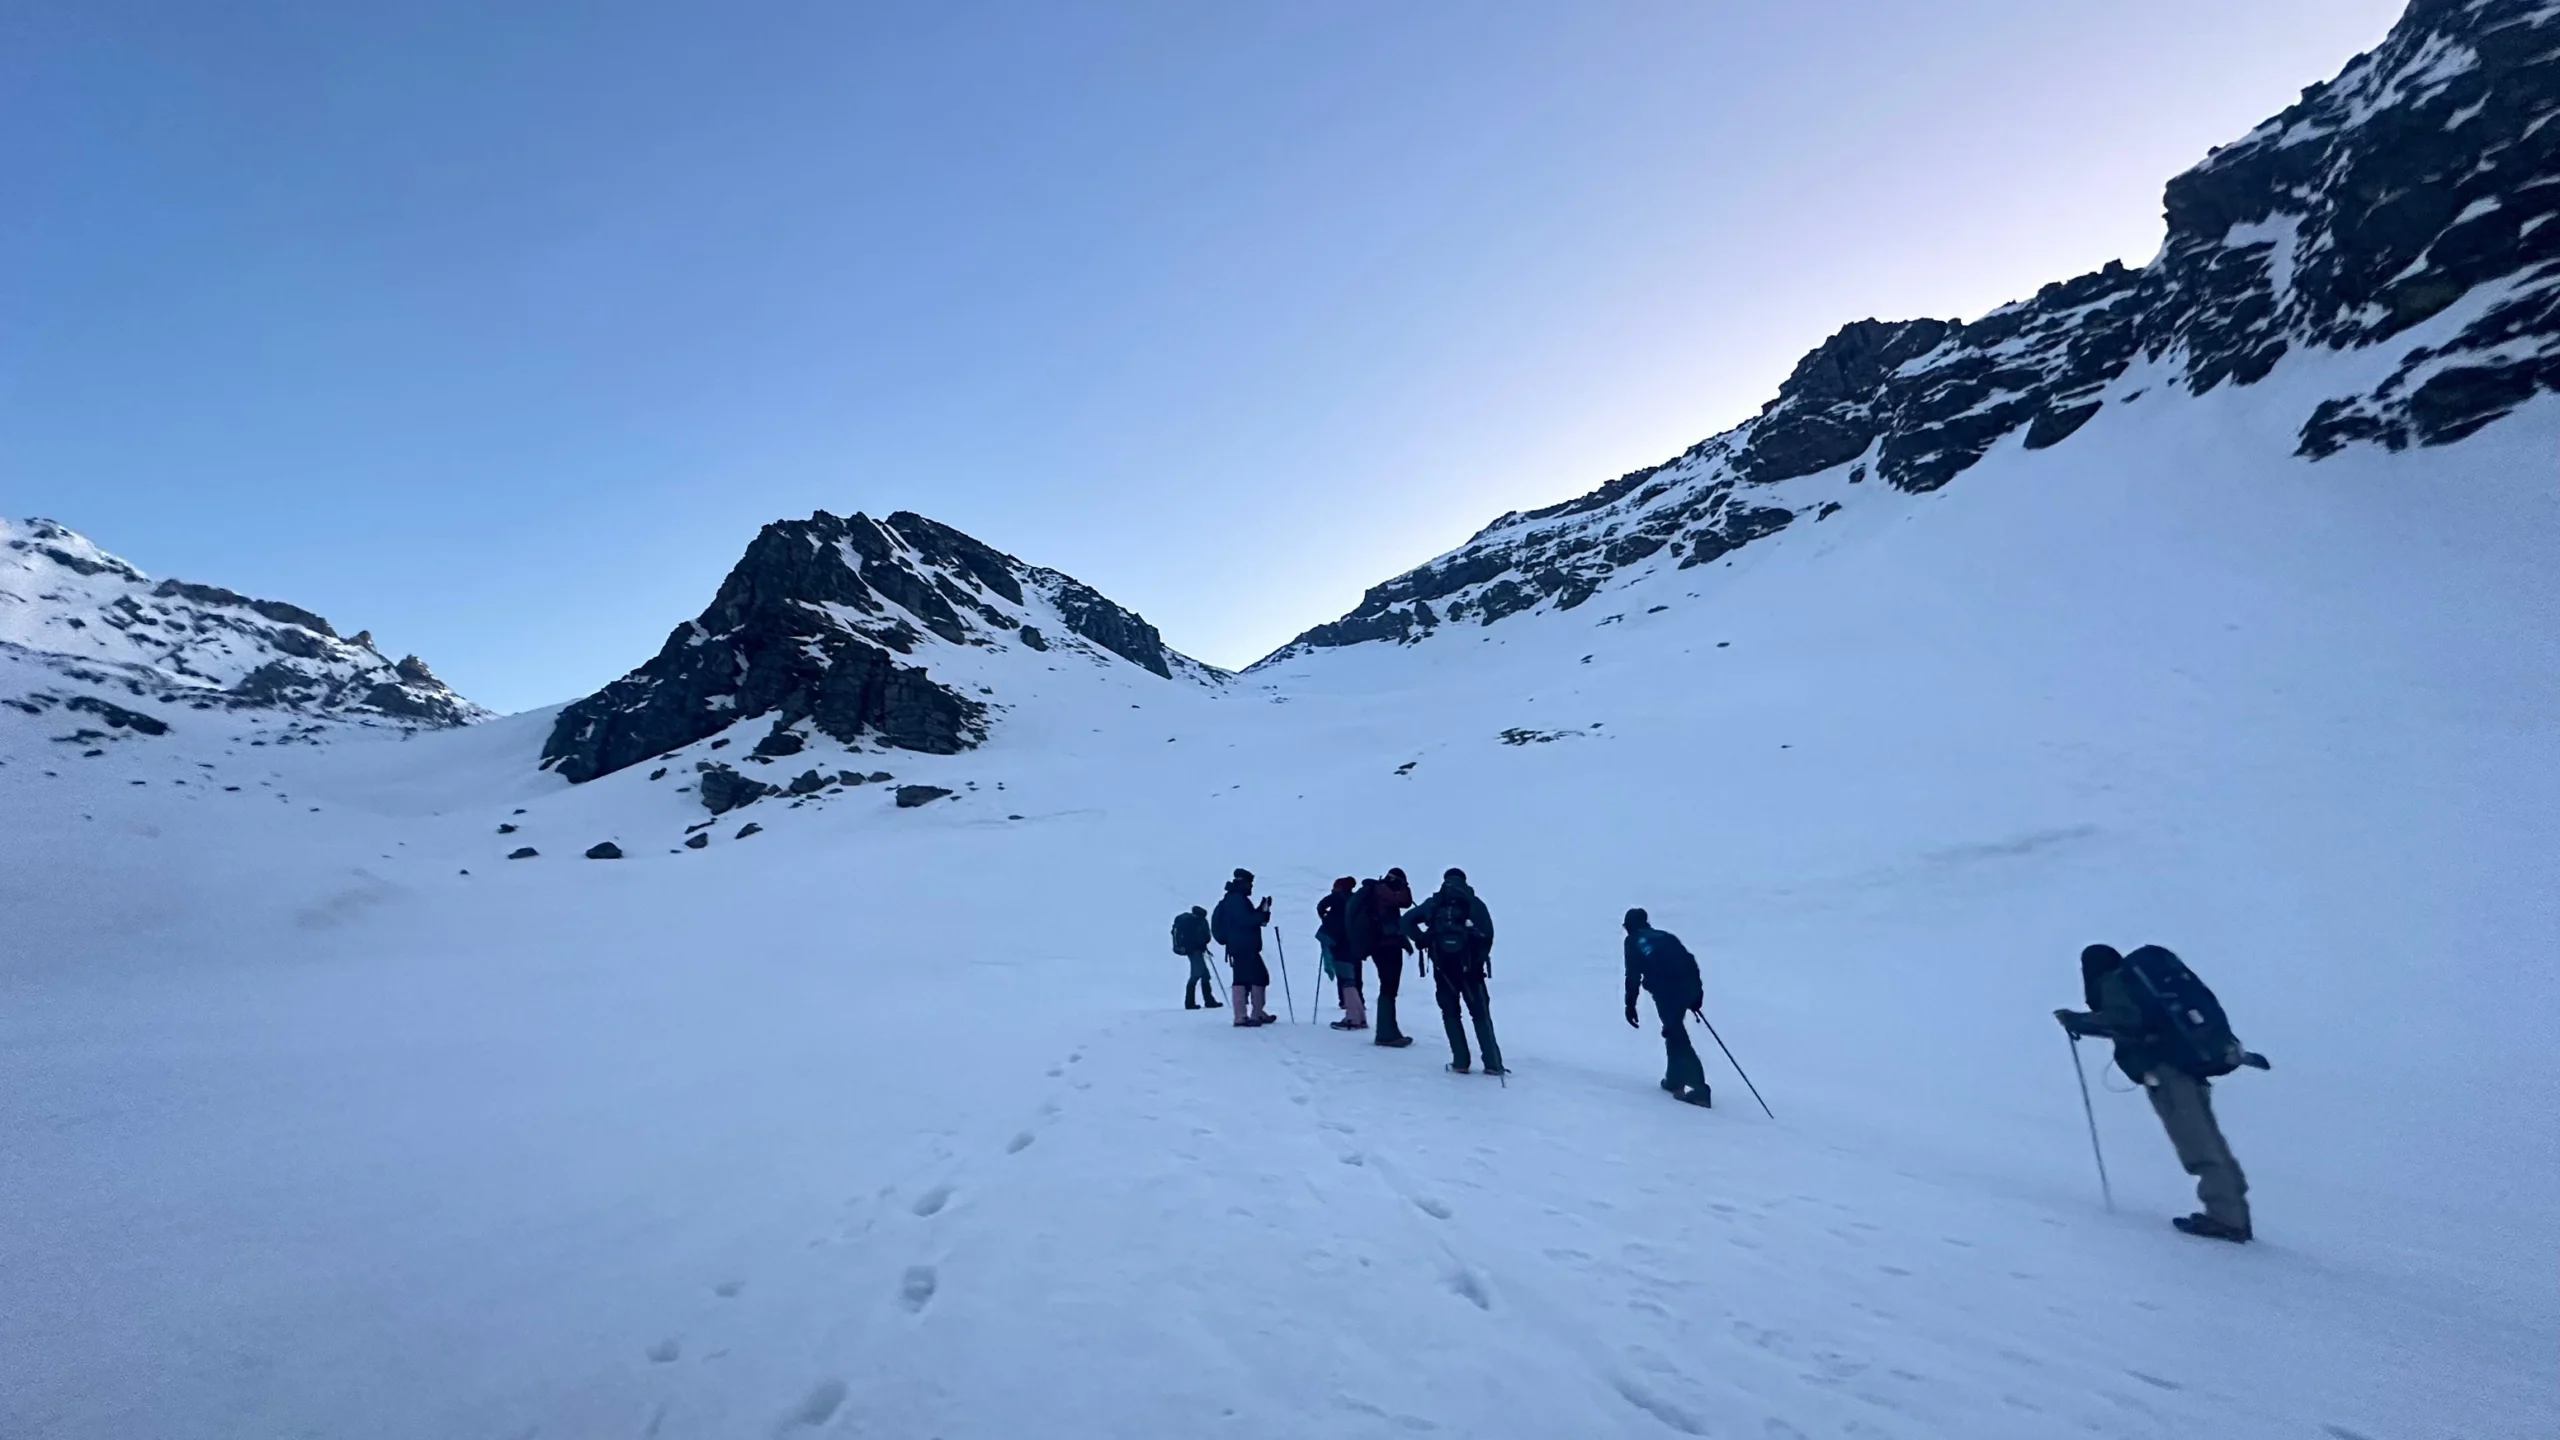
The climb to the pass from Nalabansh takes 3–4 hours. The gradient increases steadily as the trail follows the left bank of the Pabbar upstream, now just snowmelt threading through channels of ice, until it ends at the col. The last section is steep, and this is where all the effort concentrates: breath by breath, step by step, until the ridgeline appears above you.
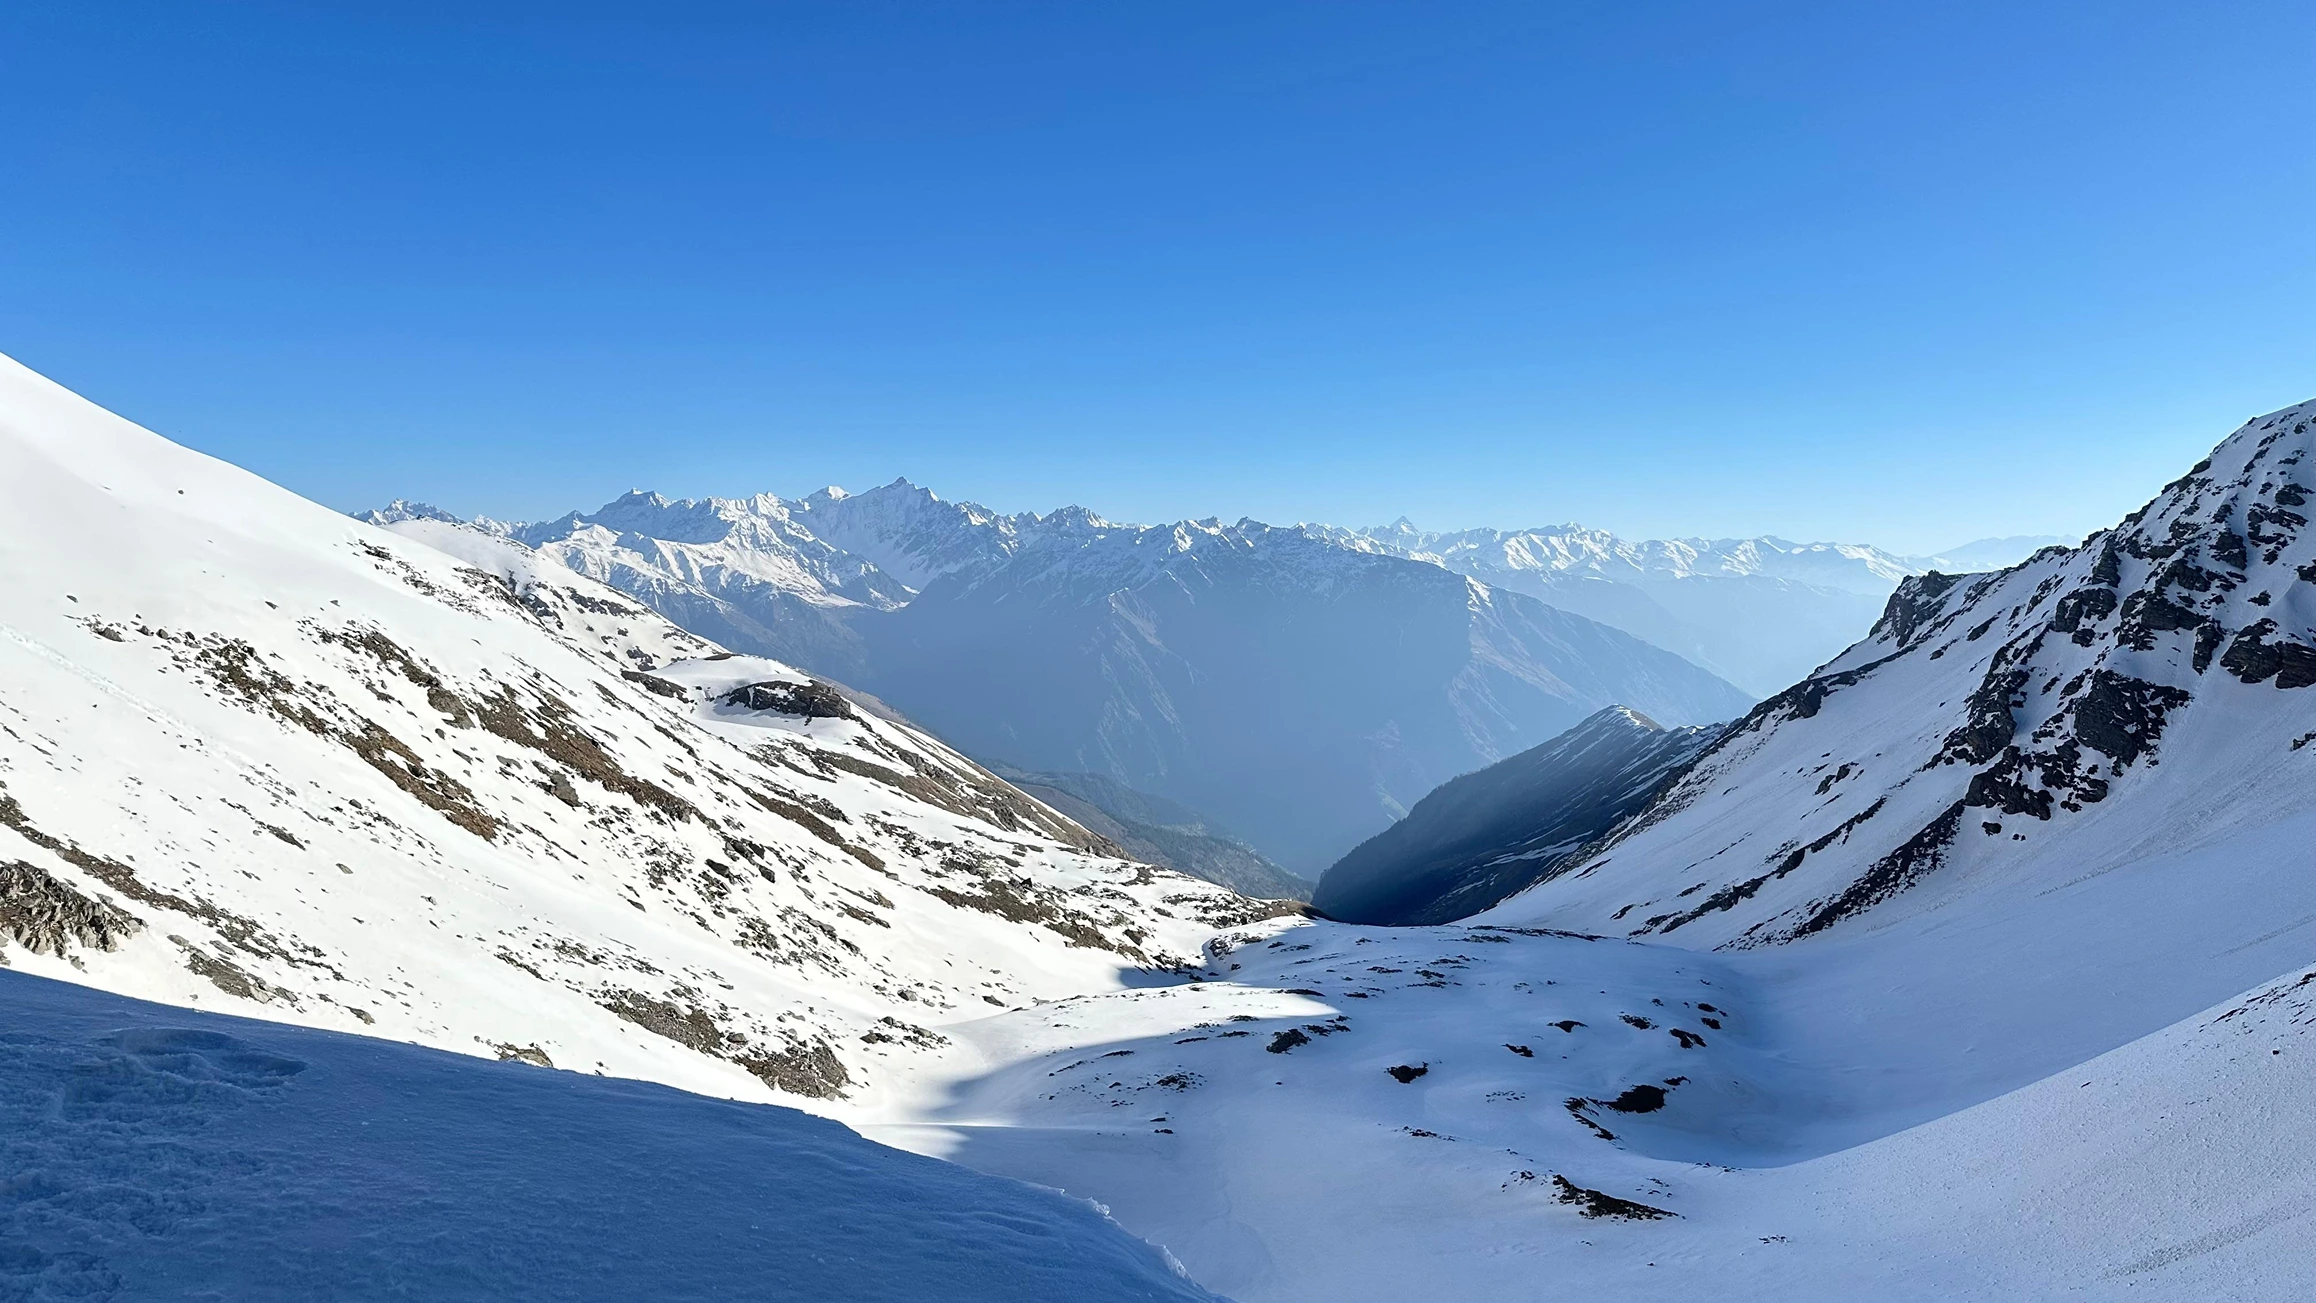
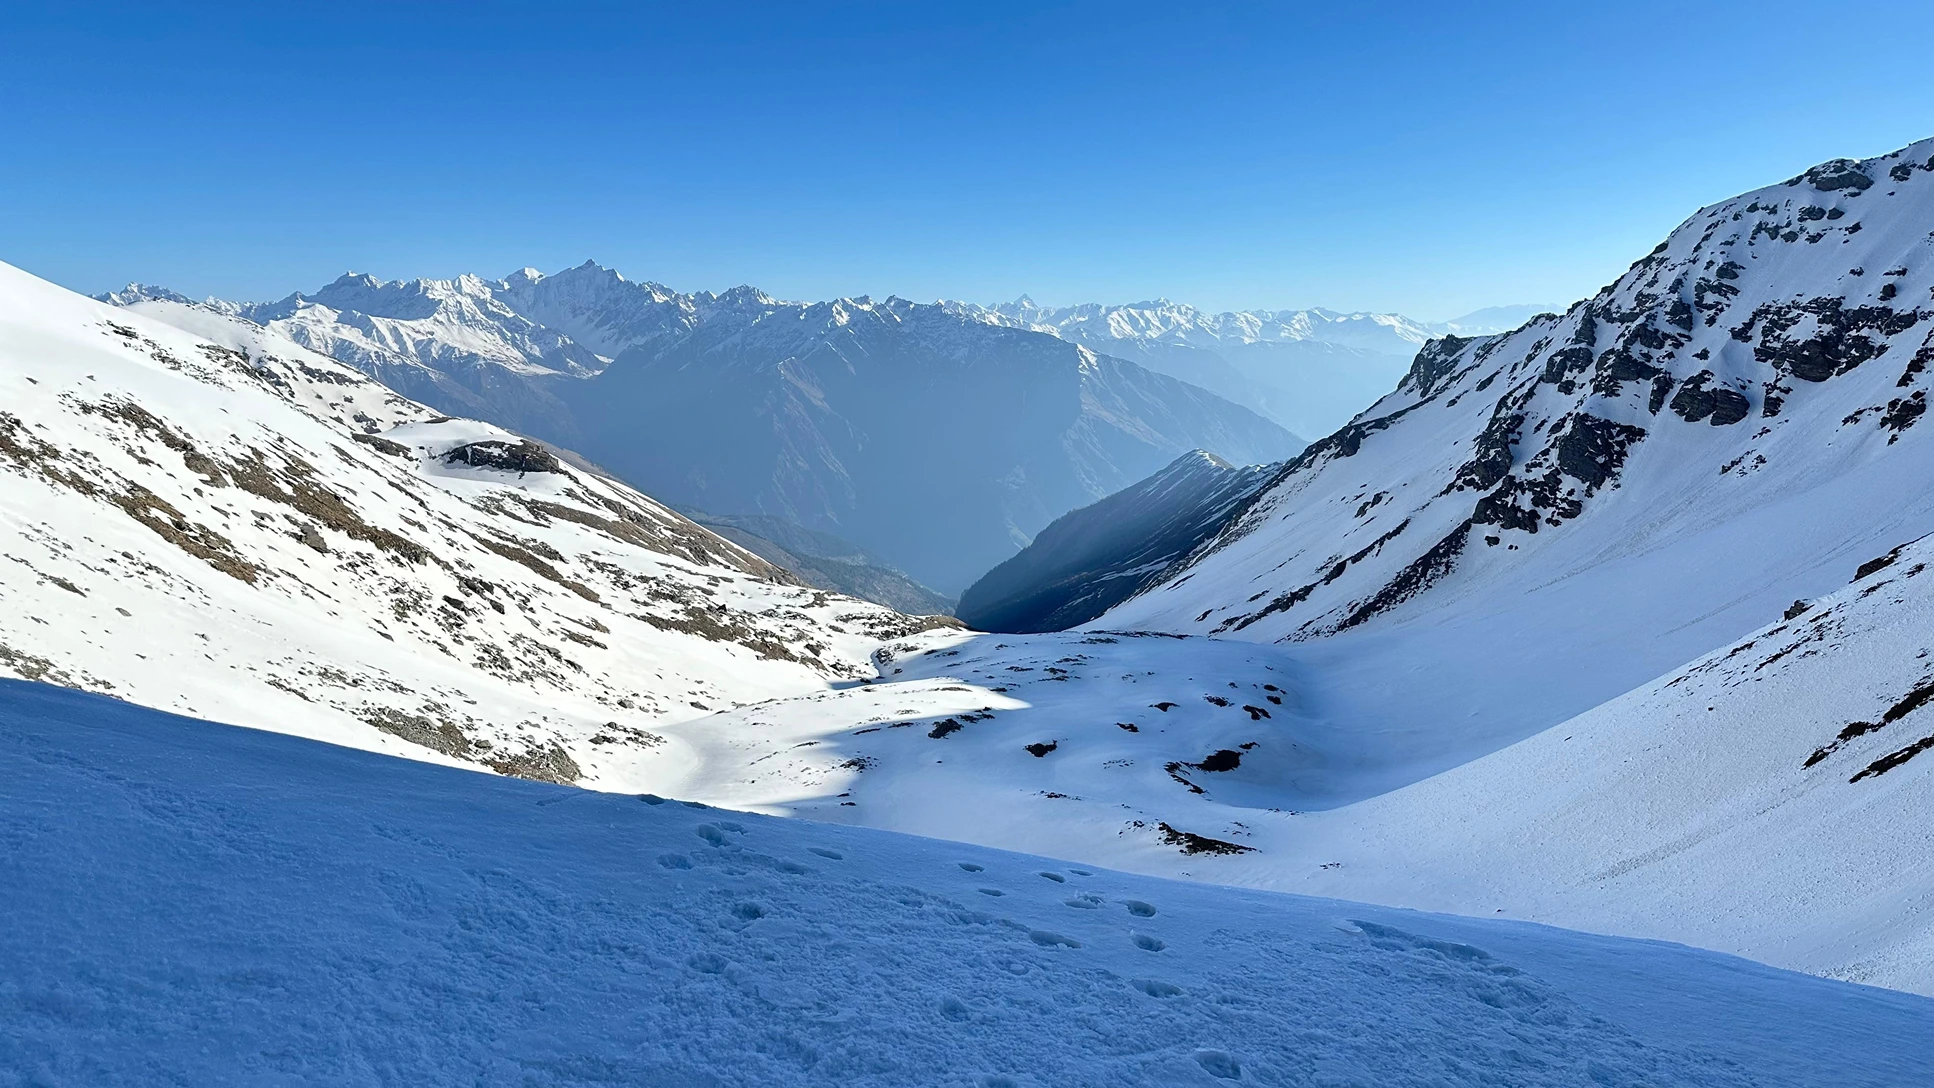
The pass at 4,572 m is narrow. The Pabbar Valley is behind you, six days of walking laid out in silence below and the Baspa Valley opens ahead. The Dhauladhar and Kinner Kailash ranges stretch across the horizon in both directions. Trekkers who have done Kedarkantha and Hampta Pass routinely say this is the finest panorama they have ever stood in.
Then the descent begins.
In summer (May–June), the Kinnaur side of the pass drops at 60–70 degrees of near-vertical snow face for approximately 400 metres. Your guide team fixes ropes before you clip in, and the technique is straightforward: lean back, trust the rope, and use your feet to control your speed against the snow. The initial section is a controlled rappel, deliberate, measured, and entirely rope-dependent. Then the angle eases, the snow opens up, and the rest of the descent is slides, long, fast traverses across open snowfield. There is nothing else like this on any comparable trek in India.
The altitude drop from the wall to Munirang (River Camp) is approximately 1,000 m. The terrain transitions steadily as you descend, snow to rock, rock to grass, grass to juniper scrub and Munirang sits quiet in a wide valley beside the river, with the Buran wall visible behind you and the Baspa Valley stretching ahead. After the day you’ve had, the stillness here feels completely earned.
In September–October: The snow wall has melted and the descent is over rocky terrain – no rappelling, but technically demanding and hard on the knees. Poles are essential throughout. Both seasons are worth the trek; they simply deliver different versions of the same day.
Day 7 Munirang to Barua Village | Drive to Shimla
(Trek: 6 km | Duration: 3–4 hours | Then drive: 7–8 hours (200 km))
Munirang to Barua Village | Drive to Shimla
(Trek: 6 km | Duration: 3–4 hours | Then drive: 7–8 hours (200 km))The last morning was gentle. The trail from Munirang to Barua descends through high pine and juniper, crosses the Barua Khud stream, and arrives at the village road-head having shed most of the remaining altitude quietly and without drama. Signs of cultivation appear before the village itself does, stone terrace walls first, then treetops, then apple orchards, then apricot trees, then the smell of wood smoke from stone houses above.
Barua is architecturally nothing like Janglik. Slate roofs instead of deodar, stone walls instead of timber frames, and more ornate woodwork that is unmistakably Kinnauri. The Baspa River runs below the village, and if the season is right, the orchards are loaded with fruit. Trekkers who finish here consistently describe a particular disorientation, the village looks like it belongs to a completely different world, despite being just one pass and one day’s walk from where they started.
After lunch in Barua, the vehicles take you to Shimla via Karcham and Rampur, 200 km and 7–8 hours depending on road conditions. Expect to arrive late at night, and build in a buffer day from Shimla for any onward travel.
- Accommodation: 1 night homestay at Janglik (triple/quad sharing) + 5 nights tented accommodation on trek (triple sharing)
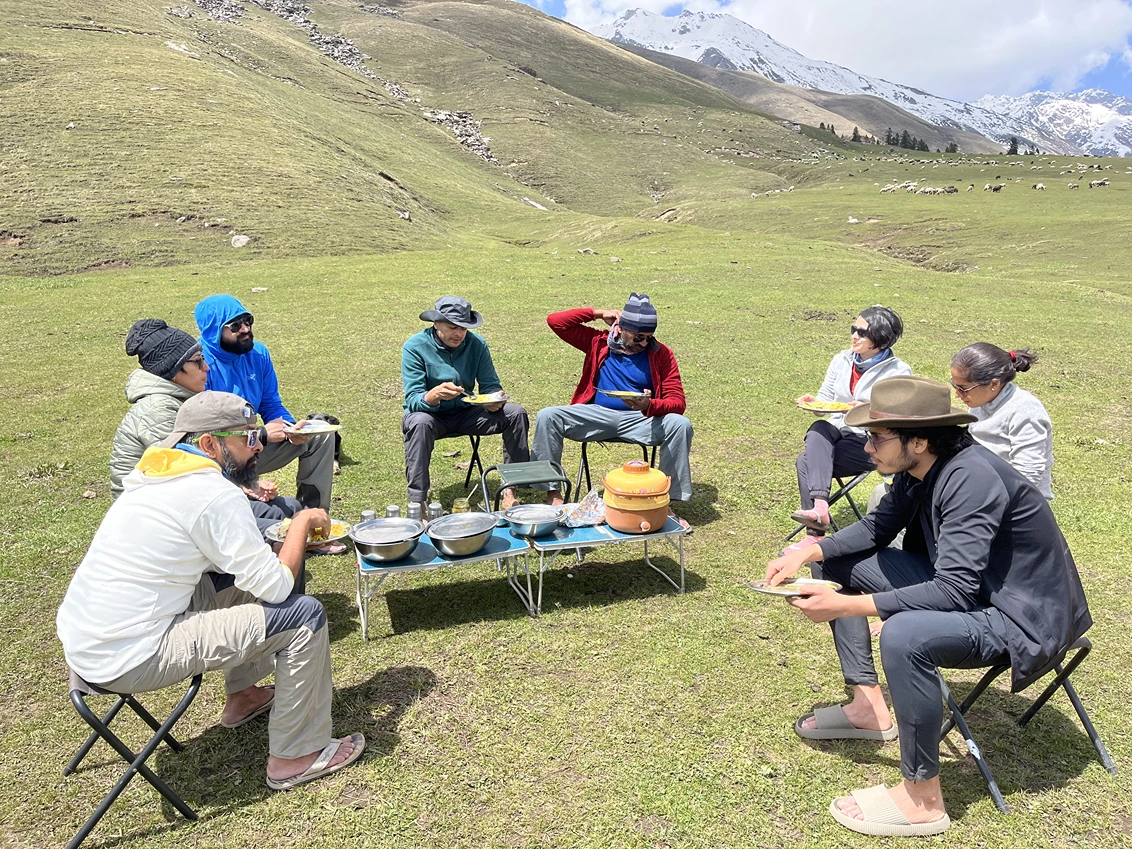
- Meals: All vegetarian meals from dinner on Day 1 through breakfast on Day 7
- Snacks: Morning tea, evening tea/coffee with light snacks and soup served daily on trek
- Camping Logistics: Camping tent, trekking mat, sleeping bag, dining tent, toilet tent and stool
- Camping Equipment: Gaiters, microspikes, and rope if required
- Permits: All necessary fees and permits for Indian nationals
- Trek Leader: Certified and experienced trek leader for the full duration
- Guide and Support Team Ratio: Experienced guide and support staff (ratio based on group size)
- Medical Acid: Basic first aid kit, oximeter and oxygen cylinde
- Transportation: Shimla to Shimla surface transfer — Sumo / Bolero / Tempo Traveller, Non-AC Note: Transport not included for Janglik to Barua package participants
- Cloak Room:Storage facility at base camp for extra luggage
- Personal expenses of any kind
- Meals during transit
- Insurance of any kind
- Expenses due to natural calamities, landslides, or force majeure events
- Evacuation charges
- Anything not explicitly listed under inclusions
Best time to do Buran Ghati Trek
The trek runs in two seasons each year. The choice between them doesn’t just change the scenery, it changes what the trek mechanically is.
May to June – Snow Season
This is the version with the snow wall at full strength. From Dhunda upward, everything is under snow. The climb to the pass is a snow ascent from the first step. The Kinnaur-side wall is ice-firm and requires full rappelling with fixed ropes, harnesses, and guide support.
In this season you will gain the complete, defining Buran Ghati experience. Chandranahan Lake partially or fully frozen. Dayara Thatch in early-season green, snowfields on the ridges above. The Pabbar running high and loud on snowmelt. Colder upper camps, more demanding footwork, microspikes mandatory from Dhunda upward.
- Daytime at lower camps: 12°C – 22°C
- Daytime at upper camps: 3°C – 10°C
September to October – Autumn Season
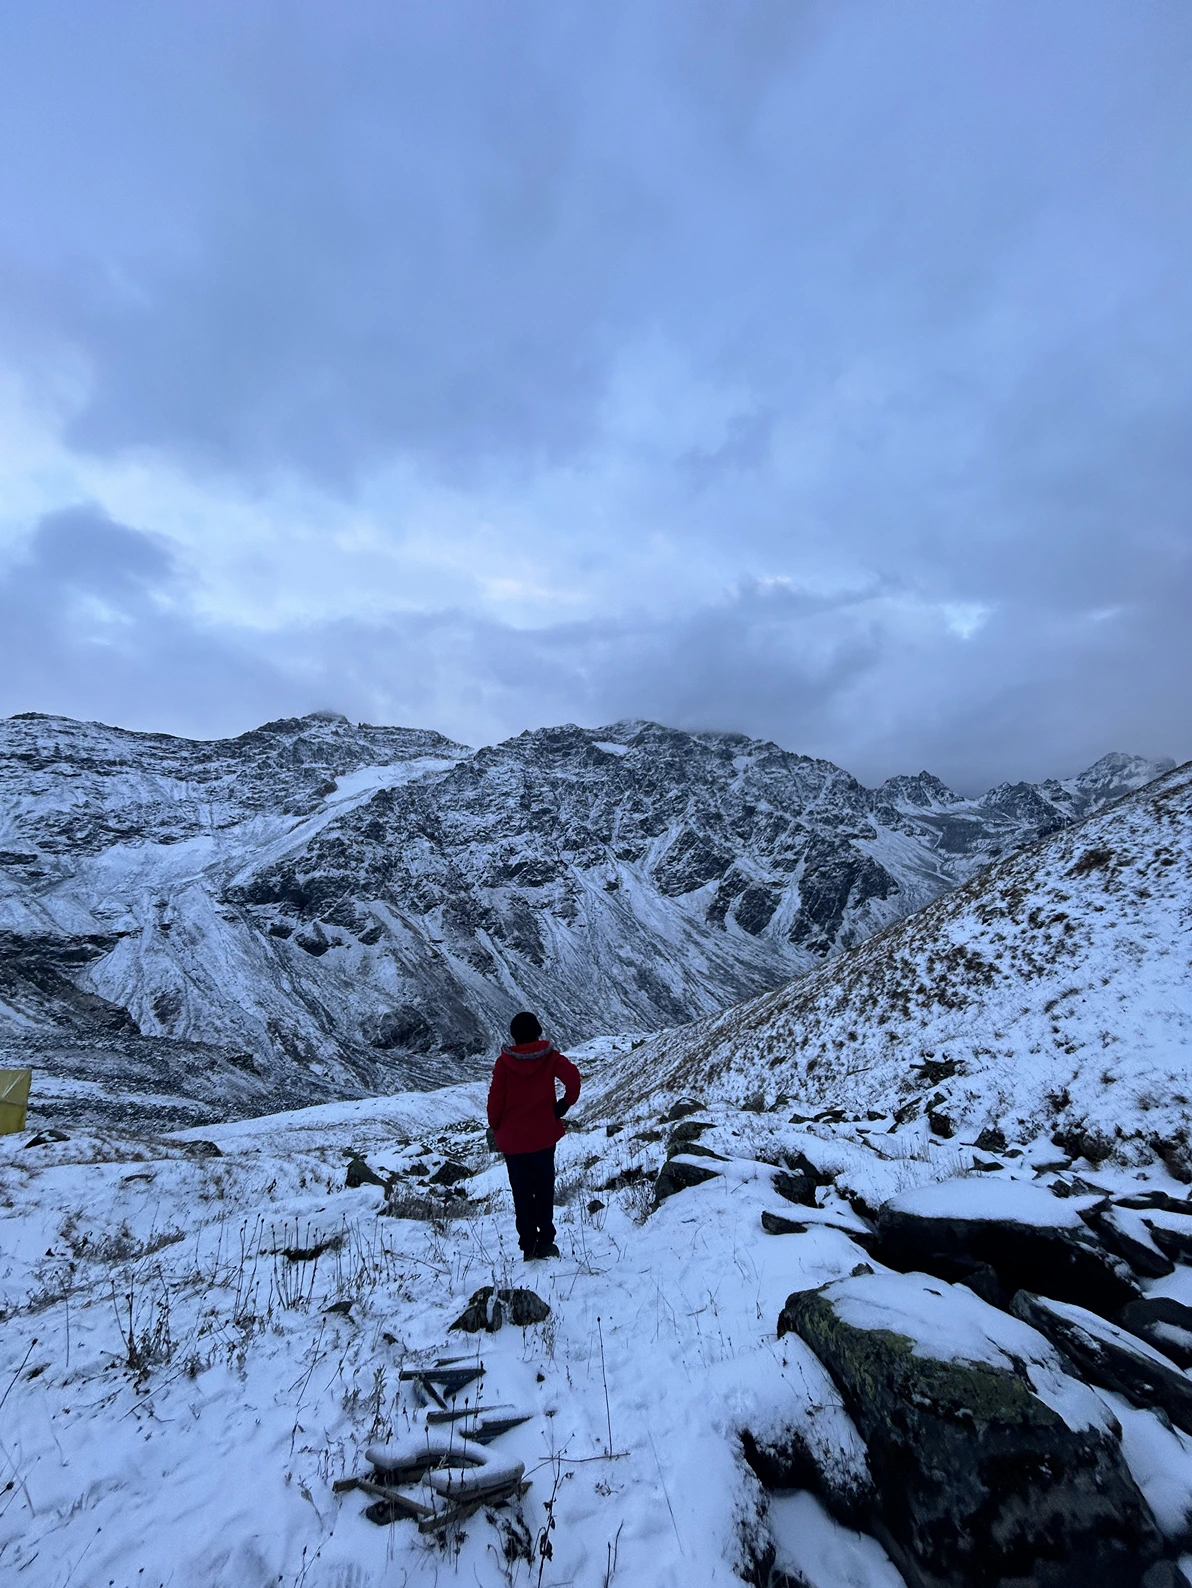
No snow wall, the descent is over rocky terrain. What replaces it is visibility. Post-monsoon skies over the Himalayas in September are the clearest of the year. The Dhauladhar range is pin-sharp from every high point. Dayara turns amber. In October, early winter snow sometimes dusts the upper ridges and adds another texture entirely. If you are choosing this window: go for views, photography, and stable trail conditions. Expect a technical, knee-intensive pass descent without ropes.
- Daytime at lower camps: 12°C – 20°C
- Daytime at upper camps: 5°C – 12°C
Avoid: July–August (active monsoon, road damage, dangerous upper trails). November–April (heavy snow, route completely closed).
How to Reach for The Buran Ghati Trek?
Janglik village is the starting point. Shimla is the transit hub. Getting there is a two-stage journey.
Step 1: Reach Shimla
- By Air Chandigarh International Airport (IXC) (115 km from Shimla) – is the most practical entry point. From Chandigarh, taxi or HRTC bus to Shimla takes 3–4 hours. Delhi IGI to Shimla by overnight Volvo bus is 350 km and 9–10 hours, a solid option if you’re arriving from the east. Shimla’s Jubbarhatti Airport (22 km from the city) has very limited connectivity; don’t plan your trip around it.
- By Train Kalka Railway Station (KLK) connects to Delhi via Kalka Mail and Himalayan Queen. Kalka to Shimla by taxi is 1.5 hours. The Kalka–Shimla Toy Train takes 5–6 hours and is UNESCO-listed, worth doing once for the experience.
- By Road HRTC and private Volvo buses connect Shimla to Delhi (350 km), Chandigarh (115 km), and Dehradun (230 km).
Step 2: Shimla to Janglik
Route: Shimla → Rohru → Chirgaon → Tangnu → Diude → Janglik Distance: 150–160 km Drive Time: 6–7 hours Vehicle: Private taxi / shared jeep / operator-arranged transport Last ATM: Rohru — withdraw enough for 7 days plus emergency buffer Last Signal: Rohru — BSNL occasionally works in pockets beyond; don’t rely on it
After Chirgaon, tarmac ends and the road becomes a dirt track. The Pabbar River runs alongside from Rohru to Janglik. The final switchbacks between Tangnu and Diude are slow — factor that time in correctly.
What to Pack For Your Buran Ghati Trek ?
Two altitude realities exist on this trek. A 22°C afternoon on Dayara meadows and a -5°C snowfield at 3:30 AM on summit day. Both happen within 72 hours of each other. Pack for both. Pack weight ceiling: 8–10 kg. Every kilo above that compounds fatigue on the pass-crossing day in ways that are disproportionate to what they feel like on Day 1.
Clothing
- Base layer – 2 sets moisture-wicking thermals (top and bottom); merino wool preferred
- Mid layer – fleece jacket + down jacket (600-fill or above)
- Outer shell – windproof, waterproof hardshell; essential on the pass and snow wall
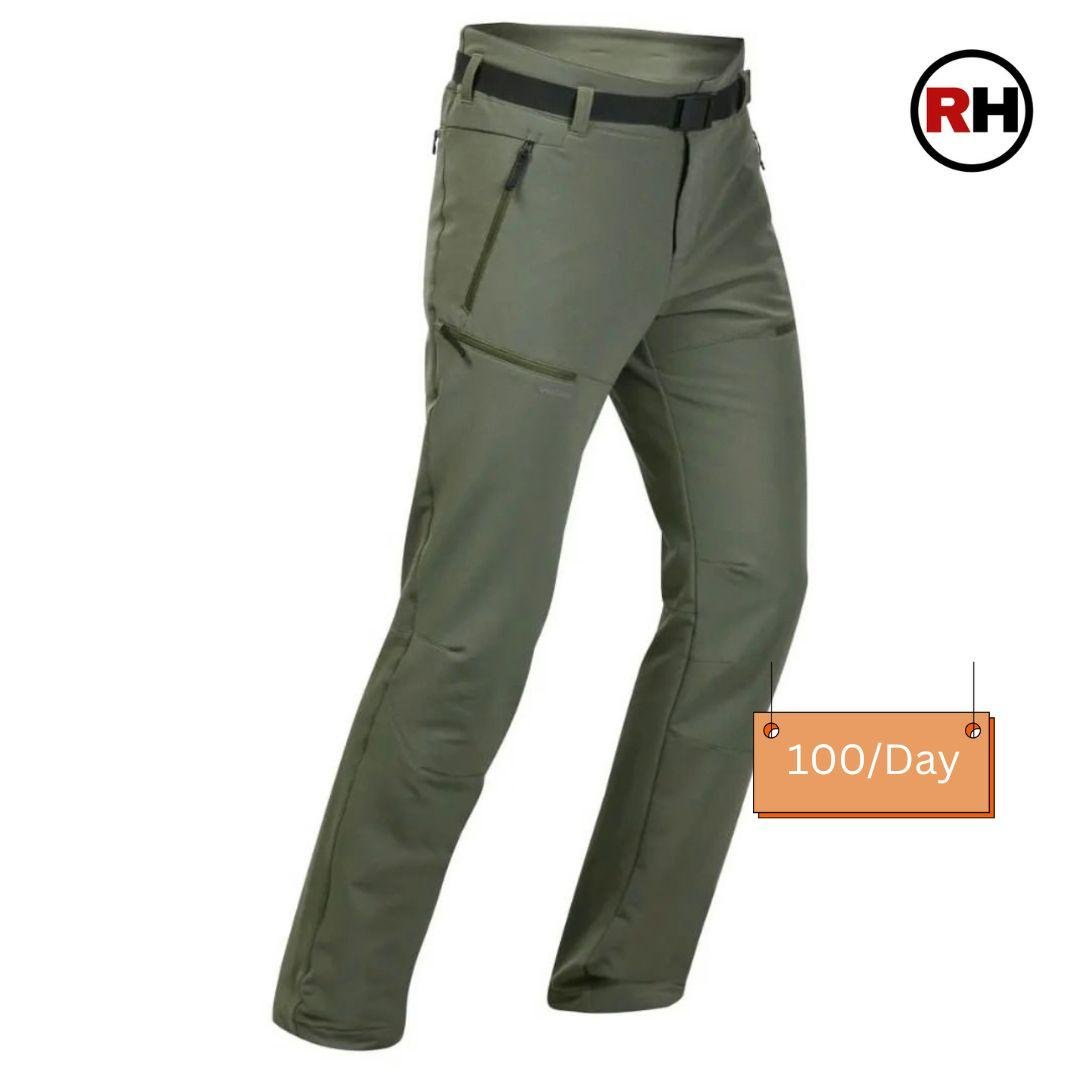
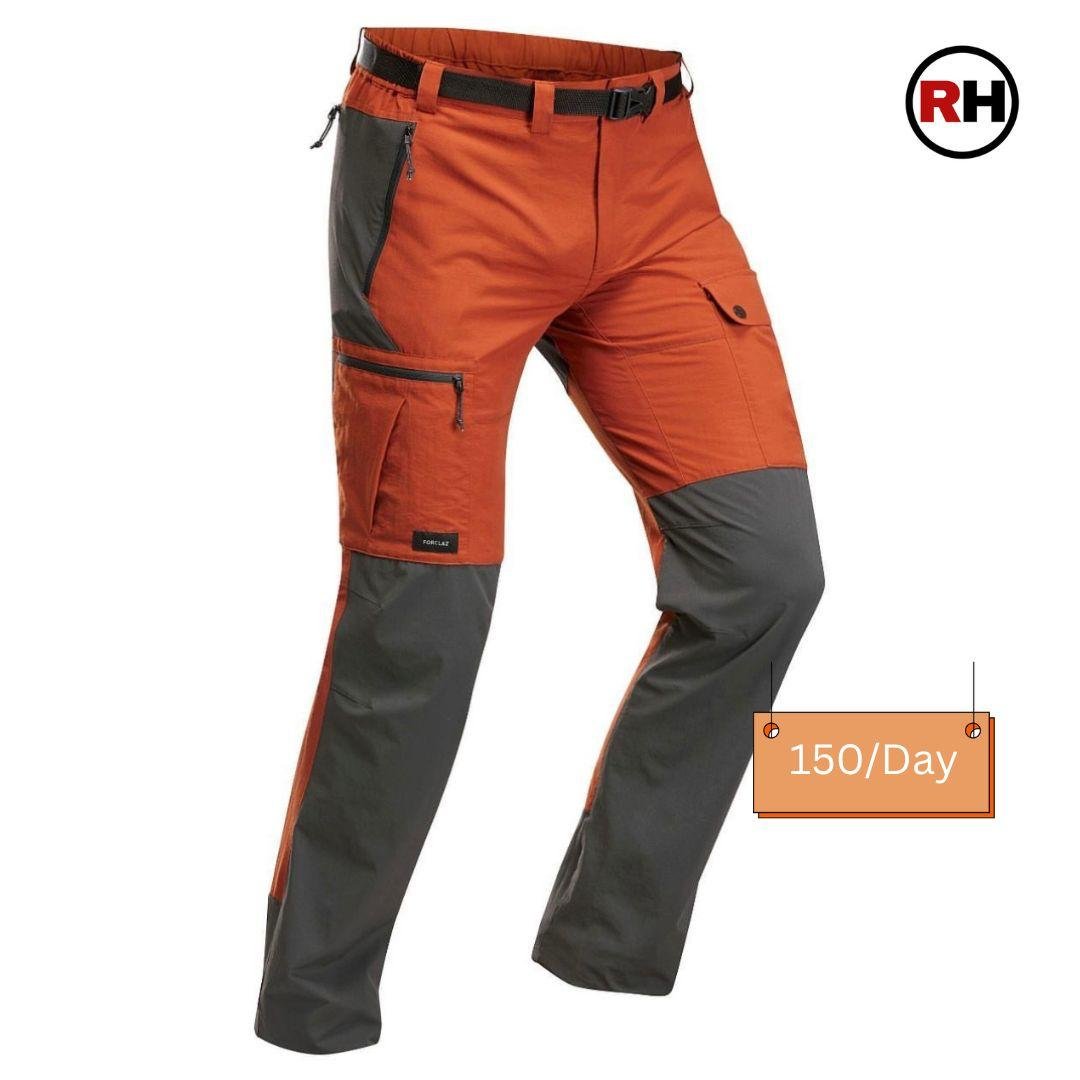
- Trekking trousers – 2 pairs; never jeans or cotton
- Warm hat / beanie + wide-brim sun hat (both used on different days)
- Balaclava – non-negotiable on summit morning
- Gloves – thin liner gloves + waterproof insulated outer gloves
- Neck gaiter or buff
- Trekking socks – 3–4 pairs, merino wool preferred
- Camp sandals or crocs
Footwear
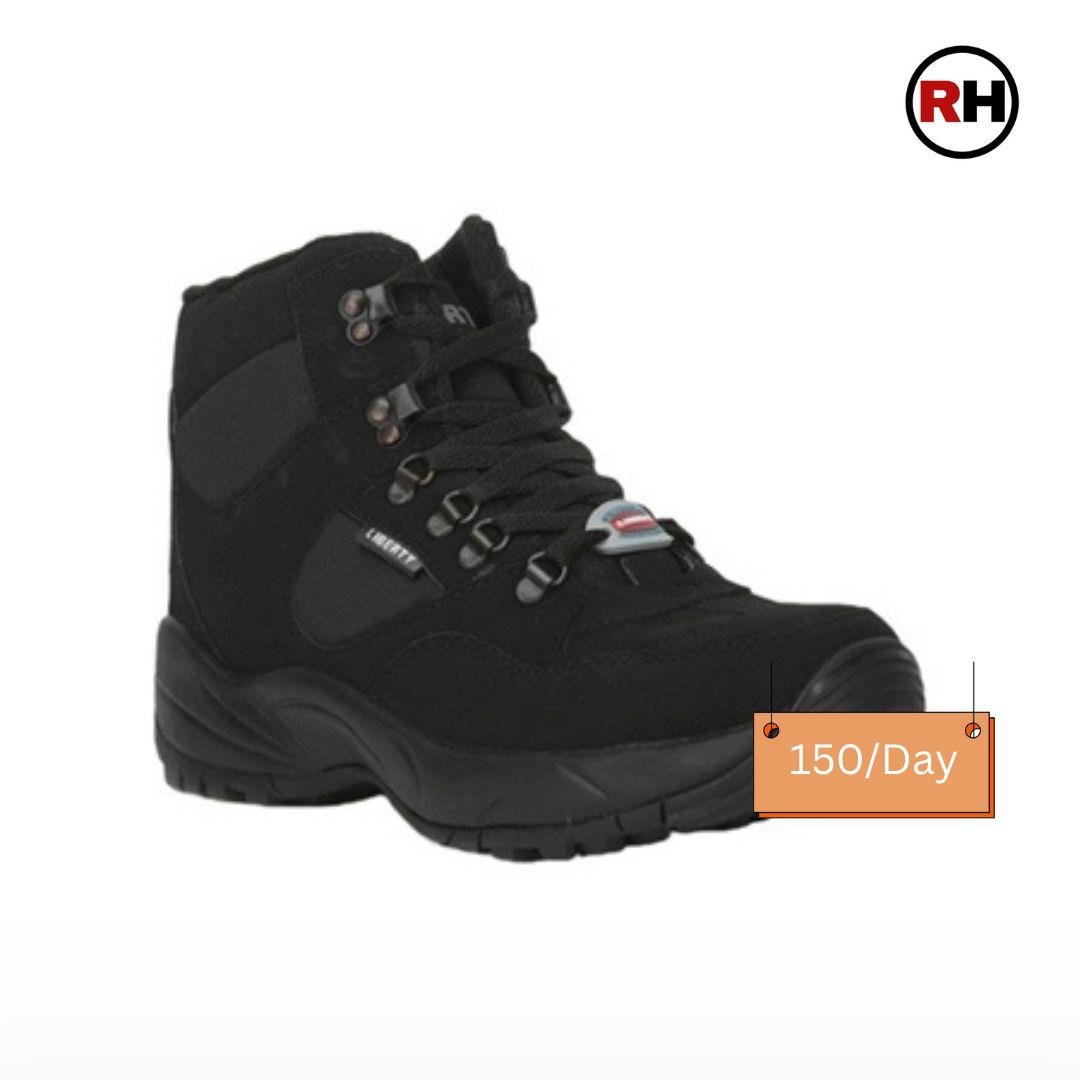
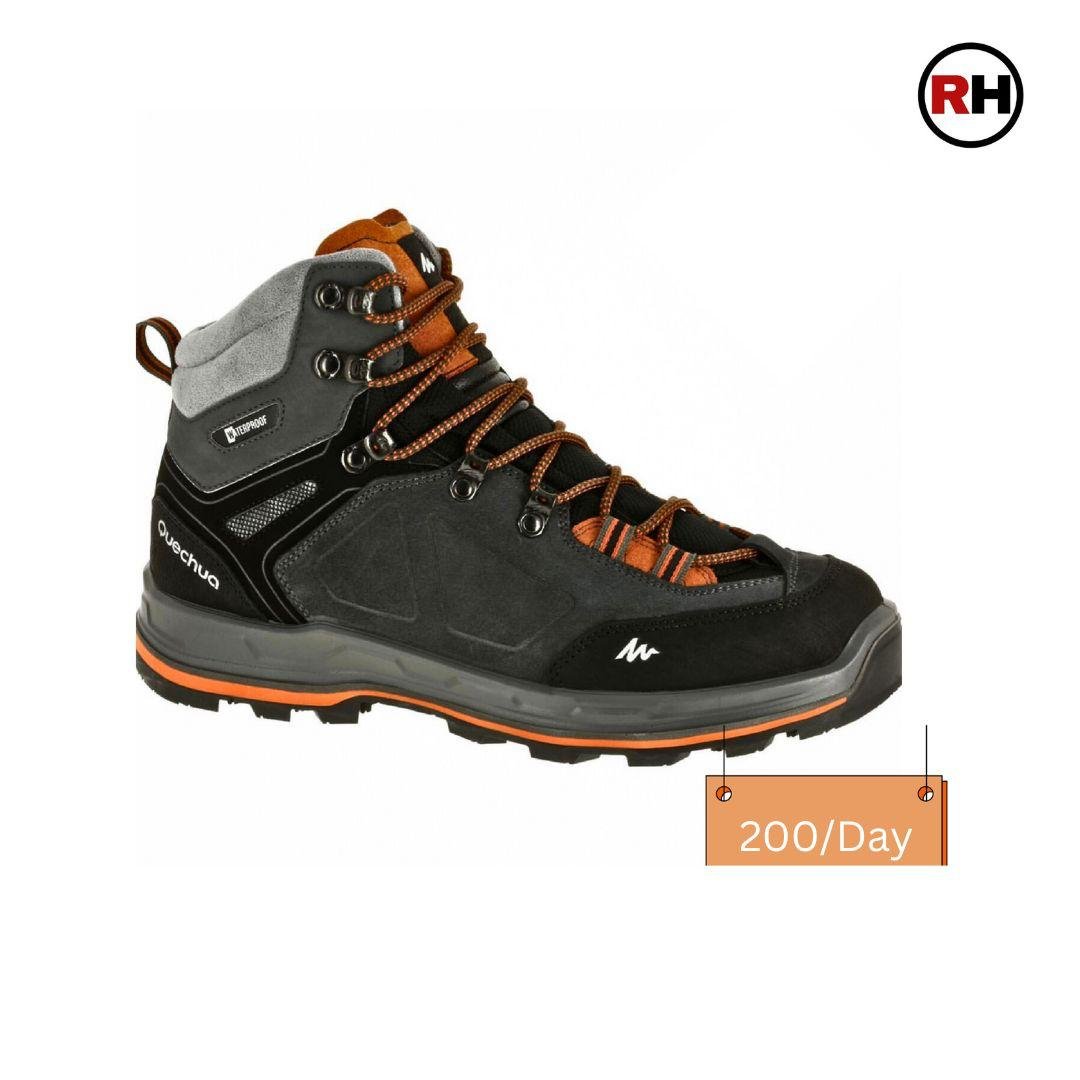
- Trekking boots – mid-to-high ankle, waterproof
- Microspikes required May–June; strongly advisable in September
- Gaiters – for snow sections
Equipment
- Trekking poles – adjustable, snow baskets; the Chandranahan descent and the snow wall will use these hard
- Backpack – 40–55 litres with rain cover
- Head torch + 2 spare battery sets – Day 6 starts at 3:30 AM in complete darkness
- Sunglasses – UV400; snow glare above 4,000 m causes real and lasting eye damage
- Sunscreen – SPF 50+ for face, neck, and hands
- Lip balm with SPF
- Insulated water bottle – 2 litres minimum; exposed bottles freeze above Dhunda overnight
Health & Hygiene
- Paracetamol, ibuprofen, Diamox (consult your doctor before the trek), ORS sachets
- Blister pads, moleskin, antiseptic cream, crepe bandage
- Hand sanitiser
- Biodegradable soap only near water sources
- Quick-dry towel
- Toilet paper -carry all waste out
- Feminine hygiene supplies if required
Documents & Finance
- Original government photo ID – Aadhaar, Voter ID, or Passport; mandatory for permits
- Cash in small denominations for 7 days plus buffer; last ATM is Rohru
- Trek confirmation and emergency contacts – printed copy, not only on your phone
Leave Behind
- Cotton trousers or jeans
- Umbrellas
- Glass bottles
- Heavy camera equipment – summit day is long and weight is everything
FAQS About Buran Ghati Trek
Get all your questions answers here
How difficult is the Buran Ghati Trek?
The Buran Ghati Trek is rated moderate to difficult. Most trekking days are manageable with good fitness, but the summit day is long, steep, and physically demanding. Proper preparation makes the final day challenging.
What is the altitude of the Buran Ghati Trek?
The maximum altitude of the Buran Ghati Trek is 4,572 m (15,000 ft) at Buran Ghati Pass. The trek starts from Janglik at 2,804 m. The gradual ascent helps trekkers acclimatize before reaching the highest point.
What exactly is the Buran Ghati snow wall?
The Buran Ghati snow wall is a steep descent on the Kinnaur side of the pass. In early summer, trekkers rappel down using fixed ropes before sliding across snowfields. In autumn, the snow melts and the descent becomes a loose rocky trail.
What is the best time for the Buran Ghati Trek?
The best time is May–June for snow and rappelling conditions. September–October offers clear skies and stable trails without technical snow descent. Avoid July–August due to monsoon and November–April due to heavy snow.
How many days does the Buran Ghati Trek take?
The Buran Ghati Trek typically takes 7 days to complete. The itinerary includes an acclimatization hike to Chandranahan Lake. The total trekking distance is around 37–42 km.
Where does the Buran Ghati Trek start and end?
The trek starts from Janglik village near Shimla. It ends at Barua village in Kinnaur. The route crosses into a completely different valley by the end of the trek.
Is the Buran Ghati Trek suitable for beginners?
The Buran Ghati Trek is not recommended as a first Himalayan trek. It is better suited for fit trekkers with prior high-altitude experience. The steep summit day requires confidence and endurance.
Do I need rappelling experience for the snow wall descent?
No prior rappelling experience is required. Guides provide training and fixed ropes at the pass. Staying calm and following instructions is more important than technical knowledge.
What is Chandranahan Lake?
Chandranahan Lake is a group of glacial lakes located at 4,029 m. It is considered the source of the Pabbar River. The hike to the lake is used as an acclimatization day during the trek.
What temperatures should I expect?
Daytime temperatures at lower camps range from 15–22°C. Nights at higher camps can drop to around freezing. Summit morning temperatures can fall between -3°C and -6°C with wind chill. ❄️
Is there mobile network on the Buran Ghati Trek?
Mobile network usually ends at Rohru. There is no reliable signal during the trekking days. Trekkers should inform contacts and download offline maps in advance.
What permits are required?
Forest permits are generally included in organized trekking packages. Indian nationals usually do not need additional paperwork. Foreign nationals should confirm requirements with their trek operator.
How does Buran Ghati compare to Rupin Pass?
Both treks are moderate to difficult and cross between valleys. Buran Ghati is known for its steep snow wall descent. Rupin Pass offers more varied terrain and a dramatic waterfall section.
Can I do the Buran Ghati Trek solo?
Solo trekking is not recommended on Buran Ghati. The route is remote and requires technical support on summit day. Organized groups with guides are the safest option
Buran Ghati Trek Package
From Shimla
Add ons
Total: ₹


